
Good photos help Best Screens understand what you have, what is damaged, and what you want to change. They can also reduce unnecessary back-and-forth before an estimate or site visit.
The most useful photo set shows both the entire project and the small details. One close-up of torn screen is rarely enough. We may also need to see the surrounding porch, every wall, the attachment system, doors, rails, framing, access conditions, and anything that could affect the work.
Photos are an important first step, but they do not replace every field measurement or site evaluation. Most Best Screens projects can begin with a remote review when the pictures clearly show the work. After reviewing them, we may ask follow-up questions, request another photo, or schedule an appointment when an in-person evaluation is needed.
Eze-Breeze, glass, and acrylic projects always require an appointment so Best Screens can measure the openings and go over the available options. Advance photos are helpful for those projects, but they are not required before contacting us.
Ready to request an estimate? Gather the photos listed below, describe what you want to accomplish, and send everything through the Best Screens estimate form. The form is preferred, but email, text, WhatsApp, and Facebook options are listed below. Clear information at the beginning helps us give you a more useful response.
Request a Best Screens estimate
The short checklist
For almost every project, send:
- Your name, phone number, email address, and project address
- The type of project or service you are considering
- Several wide photos showing the entire work area
- A straight-on photo of each wall, opening, window, or door involved
- Close-ups of the screen edges, corners, attachment method, hardware, and damage
- Photos of anything unusual, deteriorated, obstructed, or difficult to reach
- The approximate number of openings, panels, windows, or doors
- A short description of what you want repaired, replaced, added, or improved
- Your priorities, such as insects, pets, airflow, visibility, shade, privacy, pollen, ventilation, or seasonal use
- Your desired completion date and whether the property is subject to an HOA
Best Screens does not require a budget range with the initial request, but you may include one if you would like us to consider it while discussing options.
If you know approximate dimensions, include them—but do not risk climbing, leaning from a window, or entering an unsafe area to obtain measurements. Customer measurements can help Best Screens prepare a quote, but they are not used for fabrication. Best Screens will take or verify the final measurements required for fabrication.
The estimate form accepts up to 10 JPEG, PNG, or WebP photos, with a maximum file size of 15 MB per photo. Video uploads are not supported.
Ways to send project photos
The Best Screens estimate form is preferred because it is the first place we look and is checked regularly. If the form is not convenient, you may also use any of these options:
- Email: contact@bestscreens.com
- Text: 919-335-3439
- WhatsApp: 919-335-3439
- Facebook: Best Screens on Facebook
If you are already using an active Best Screens Google lead form, you may submit photos there as directed.
Start with wide photos
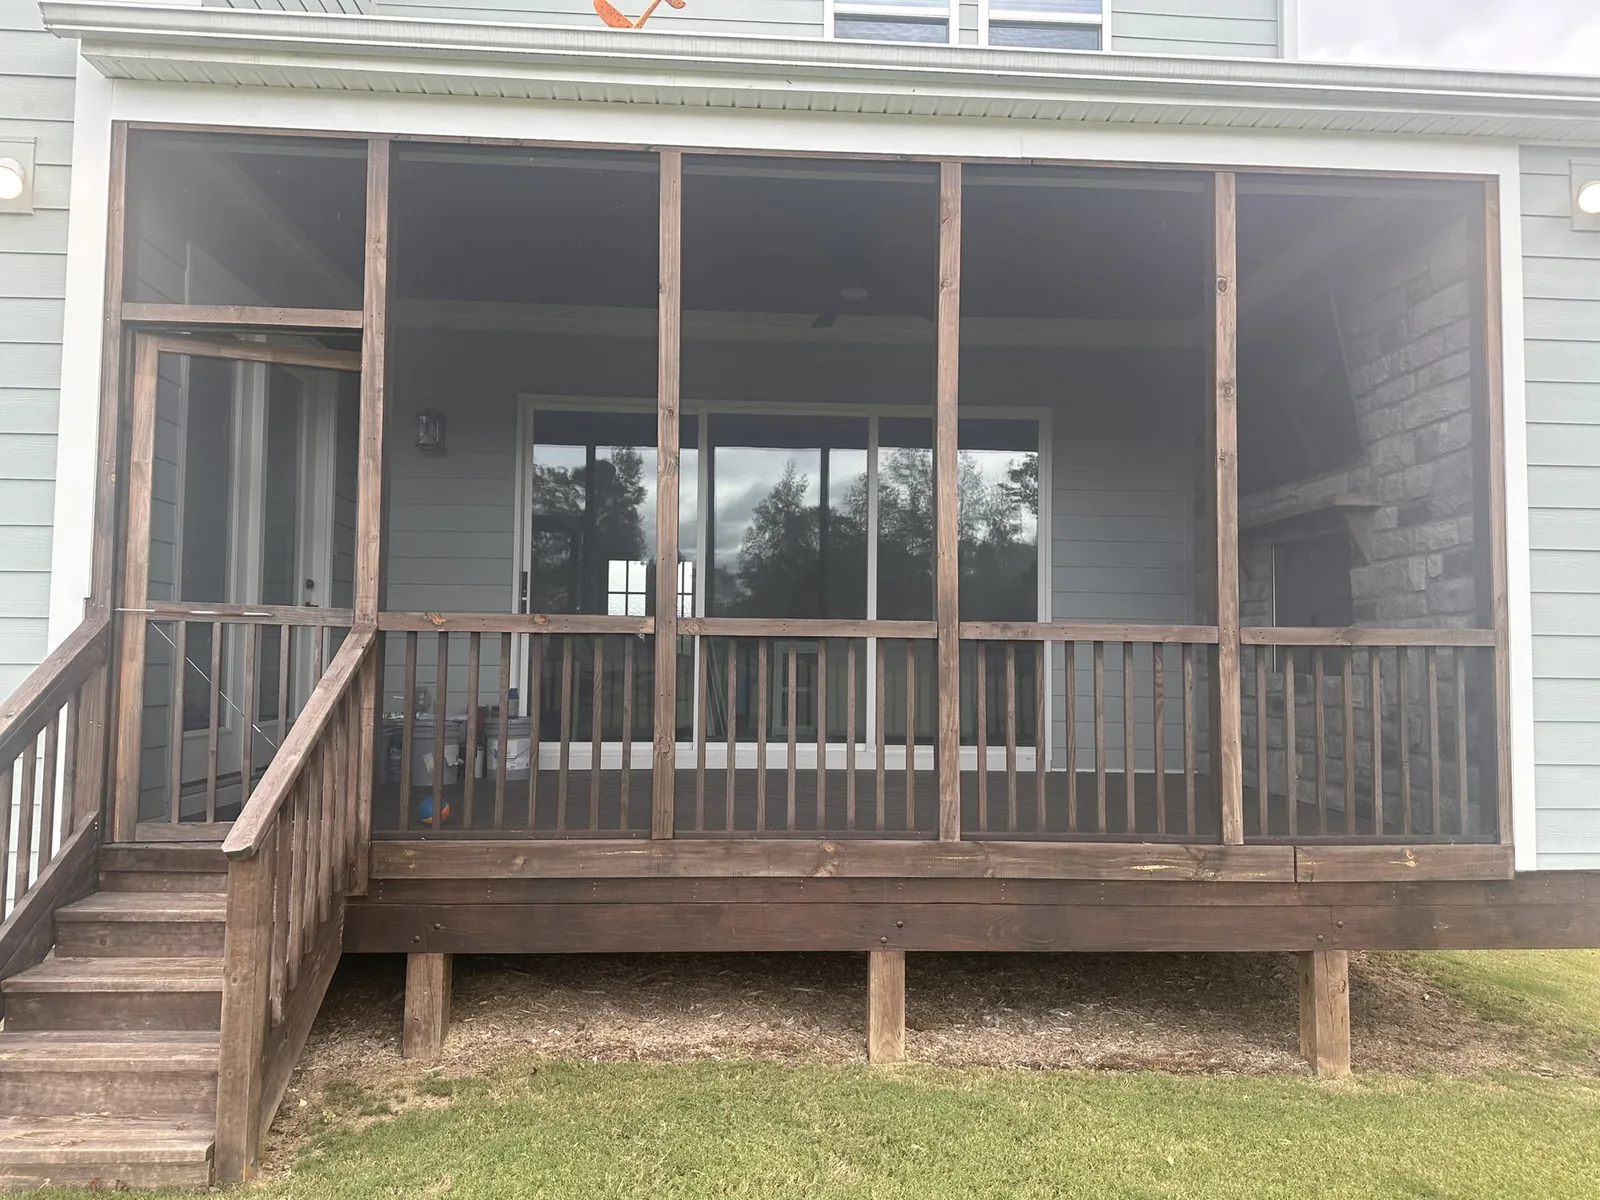
Begin far enough away to show the entire project in context. For a porch, photograph every exterior side and at least one interior overview. For a window-screen project, show the windows on the house before moving closer. For a door, include the full opening, threshold, surrounding frame, and nearby rail or wall.
Wide photos help answer questions that close-ups cannot:
- How many walls and openings are involved?
- Is the project above grade or difficult to access?
- Are stairs, landscaping, furniture, HVAC equipment, gutters, roofs, or other obstructions nearby?
- Does the porch already have posts, rails, framing, trim, or an aluminum enclosure system?
- Is the proposed work part of one opening or the entire room?
Take overlapping photos when one image cannot capture a full wall. Stand square to the project when practical so proportions are easier to understand.
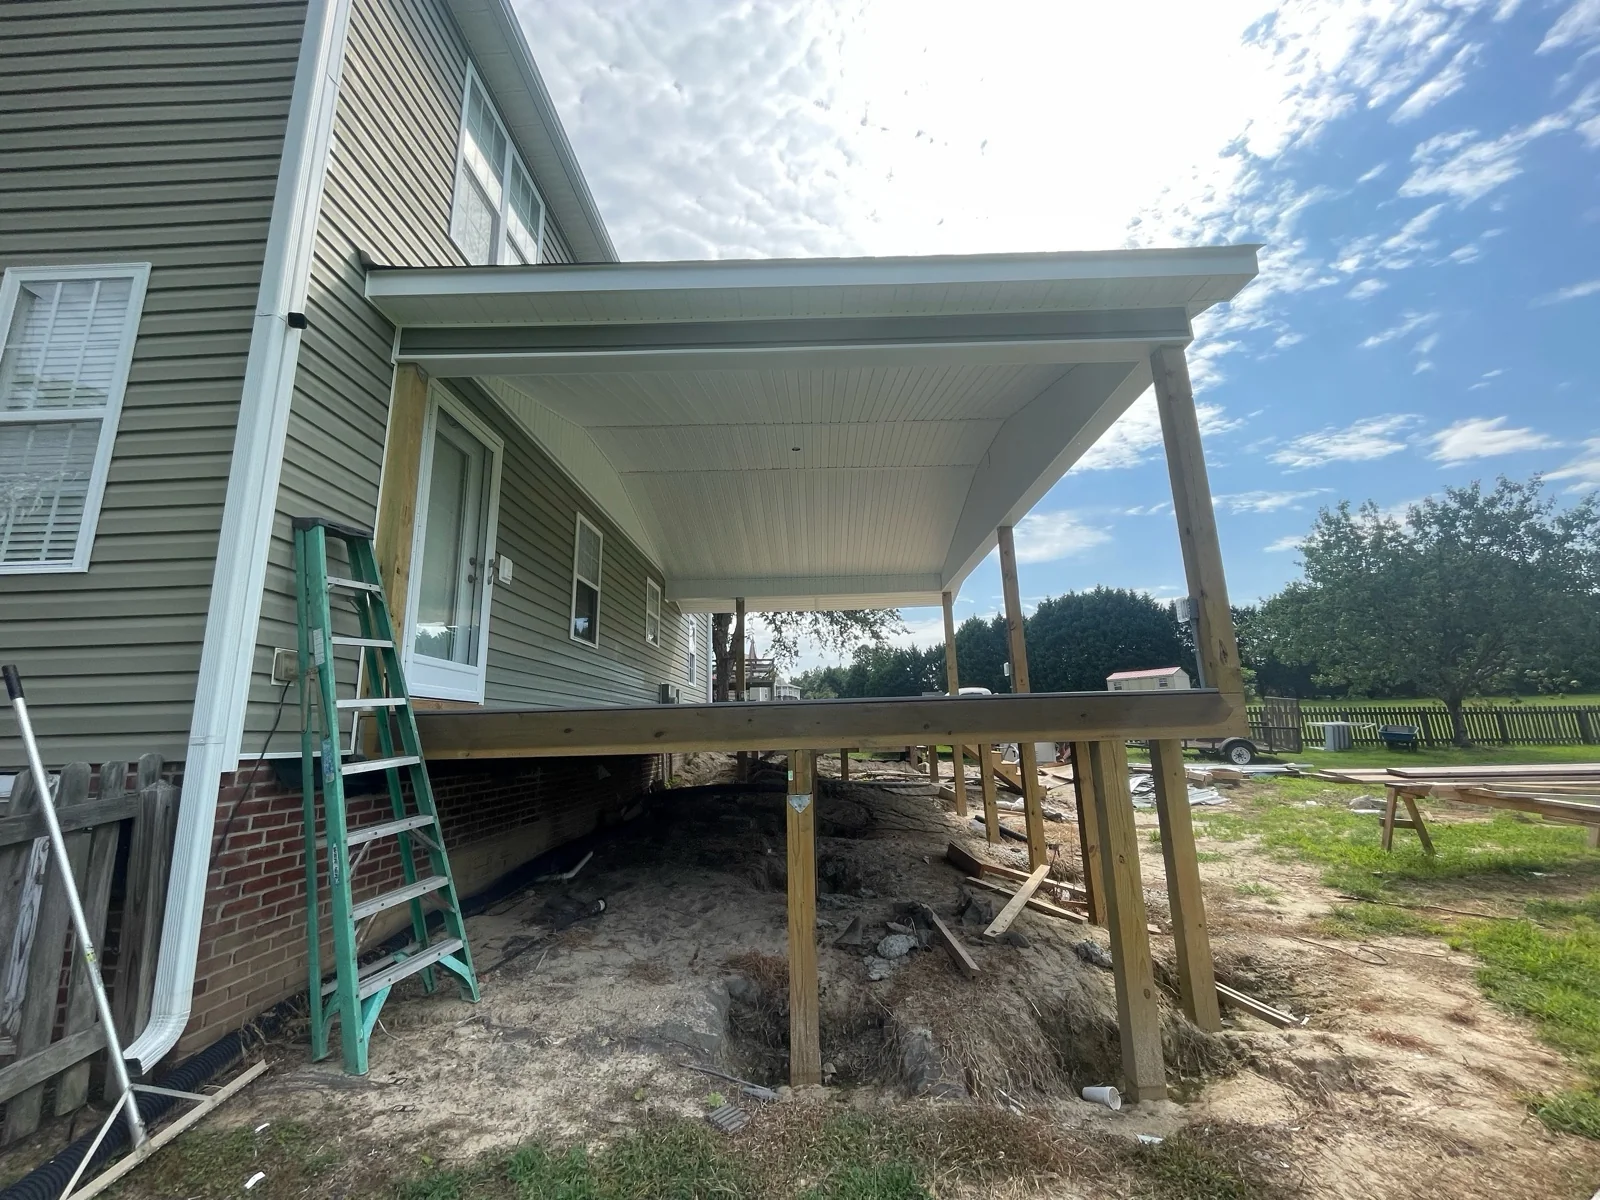
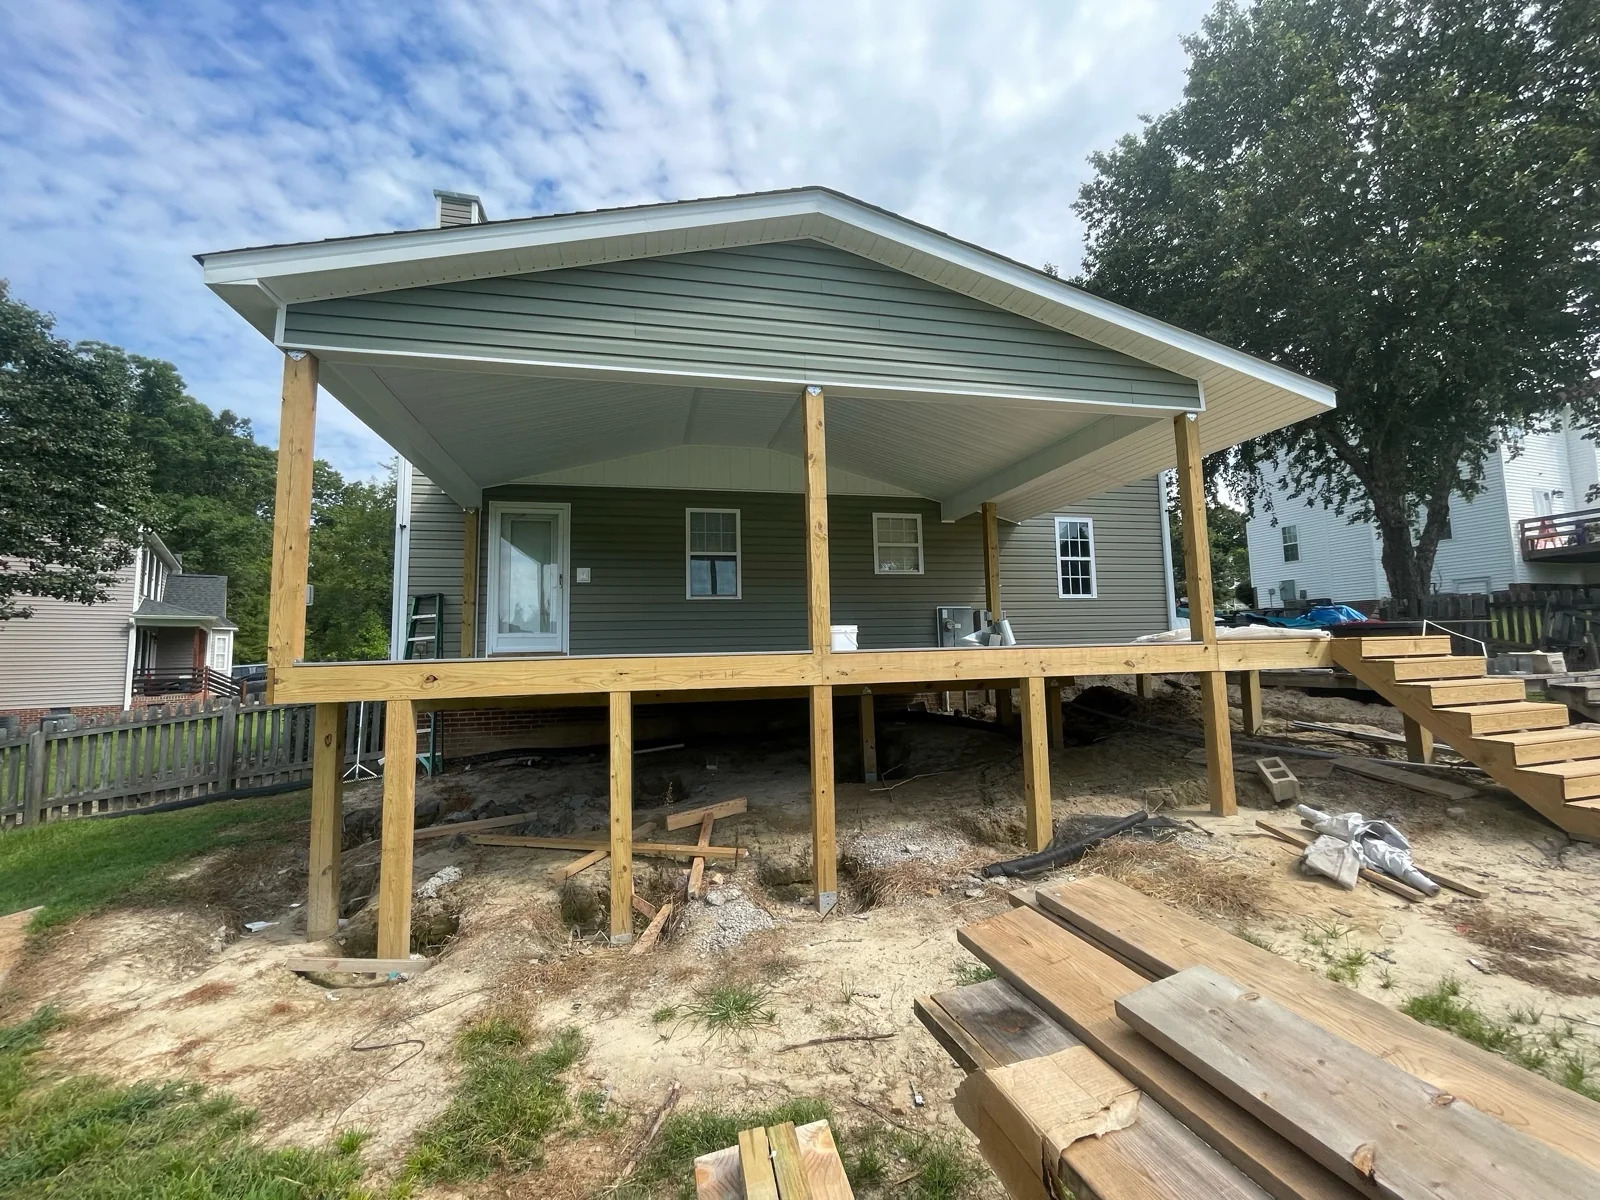
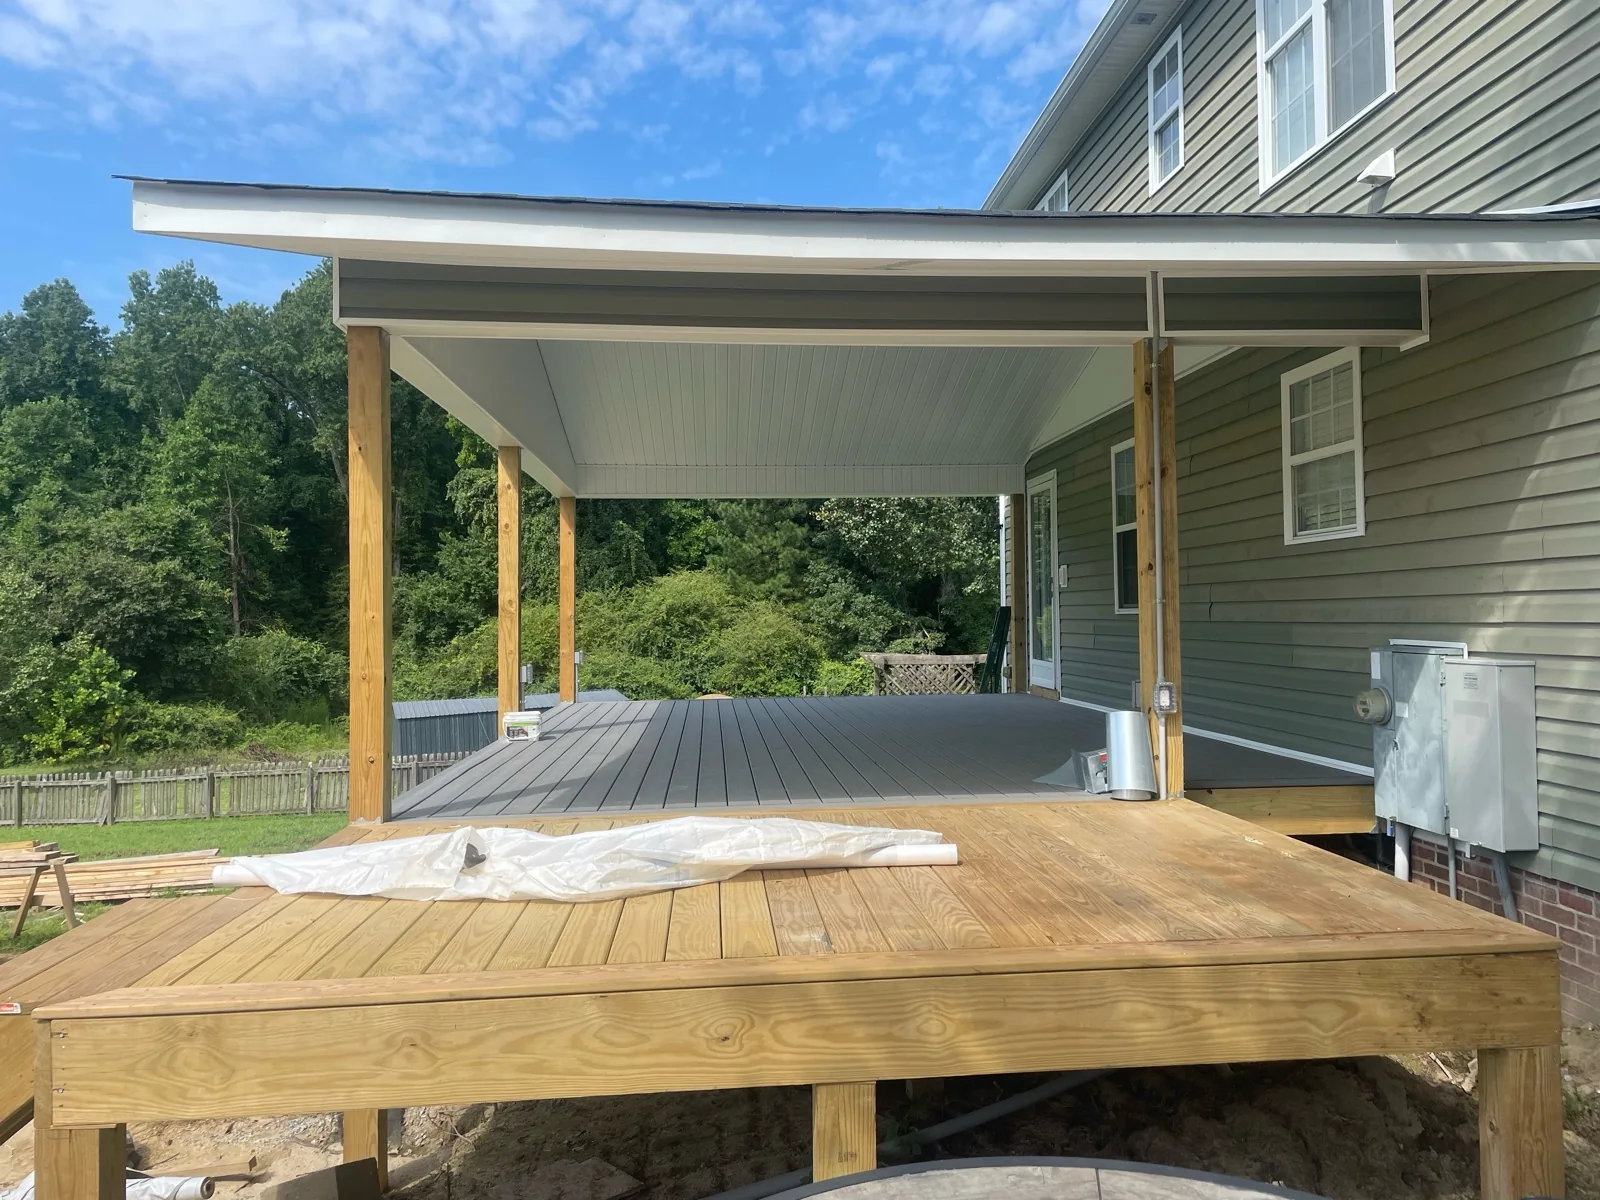
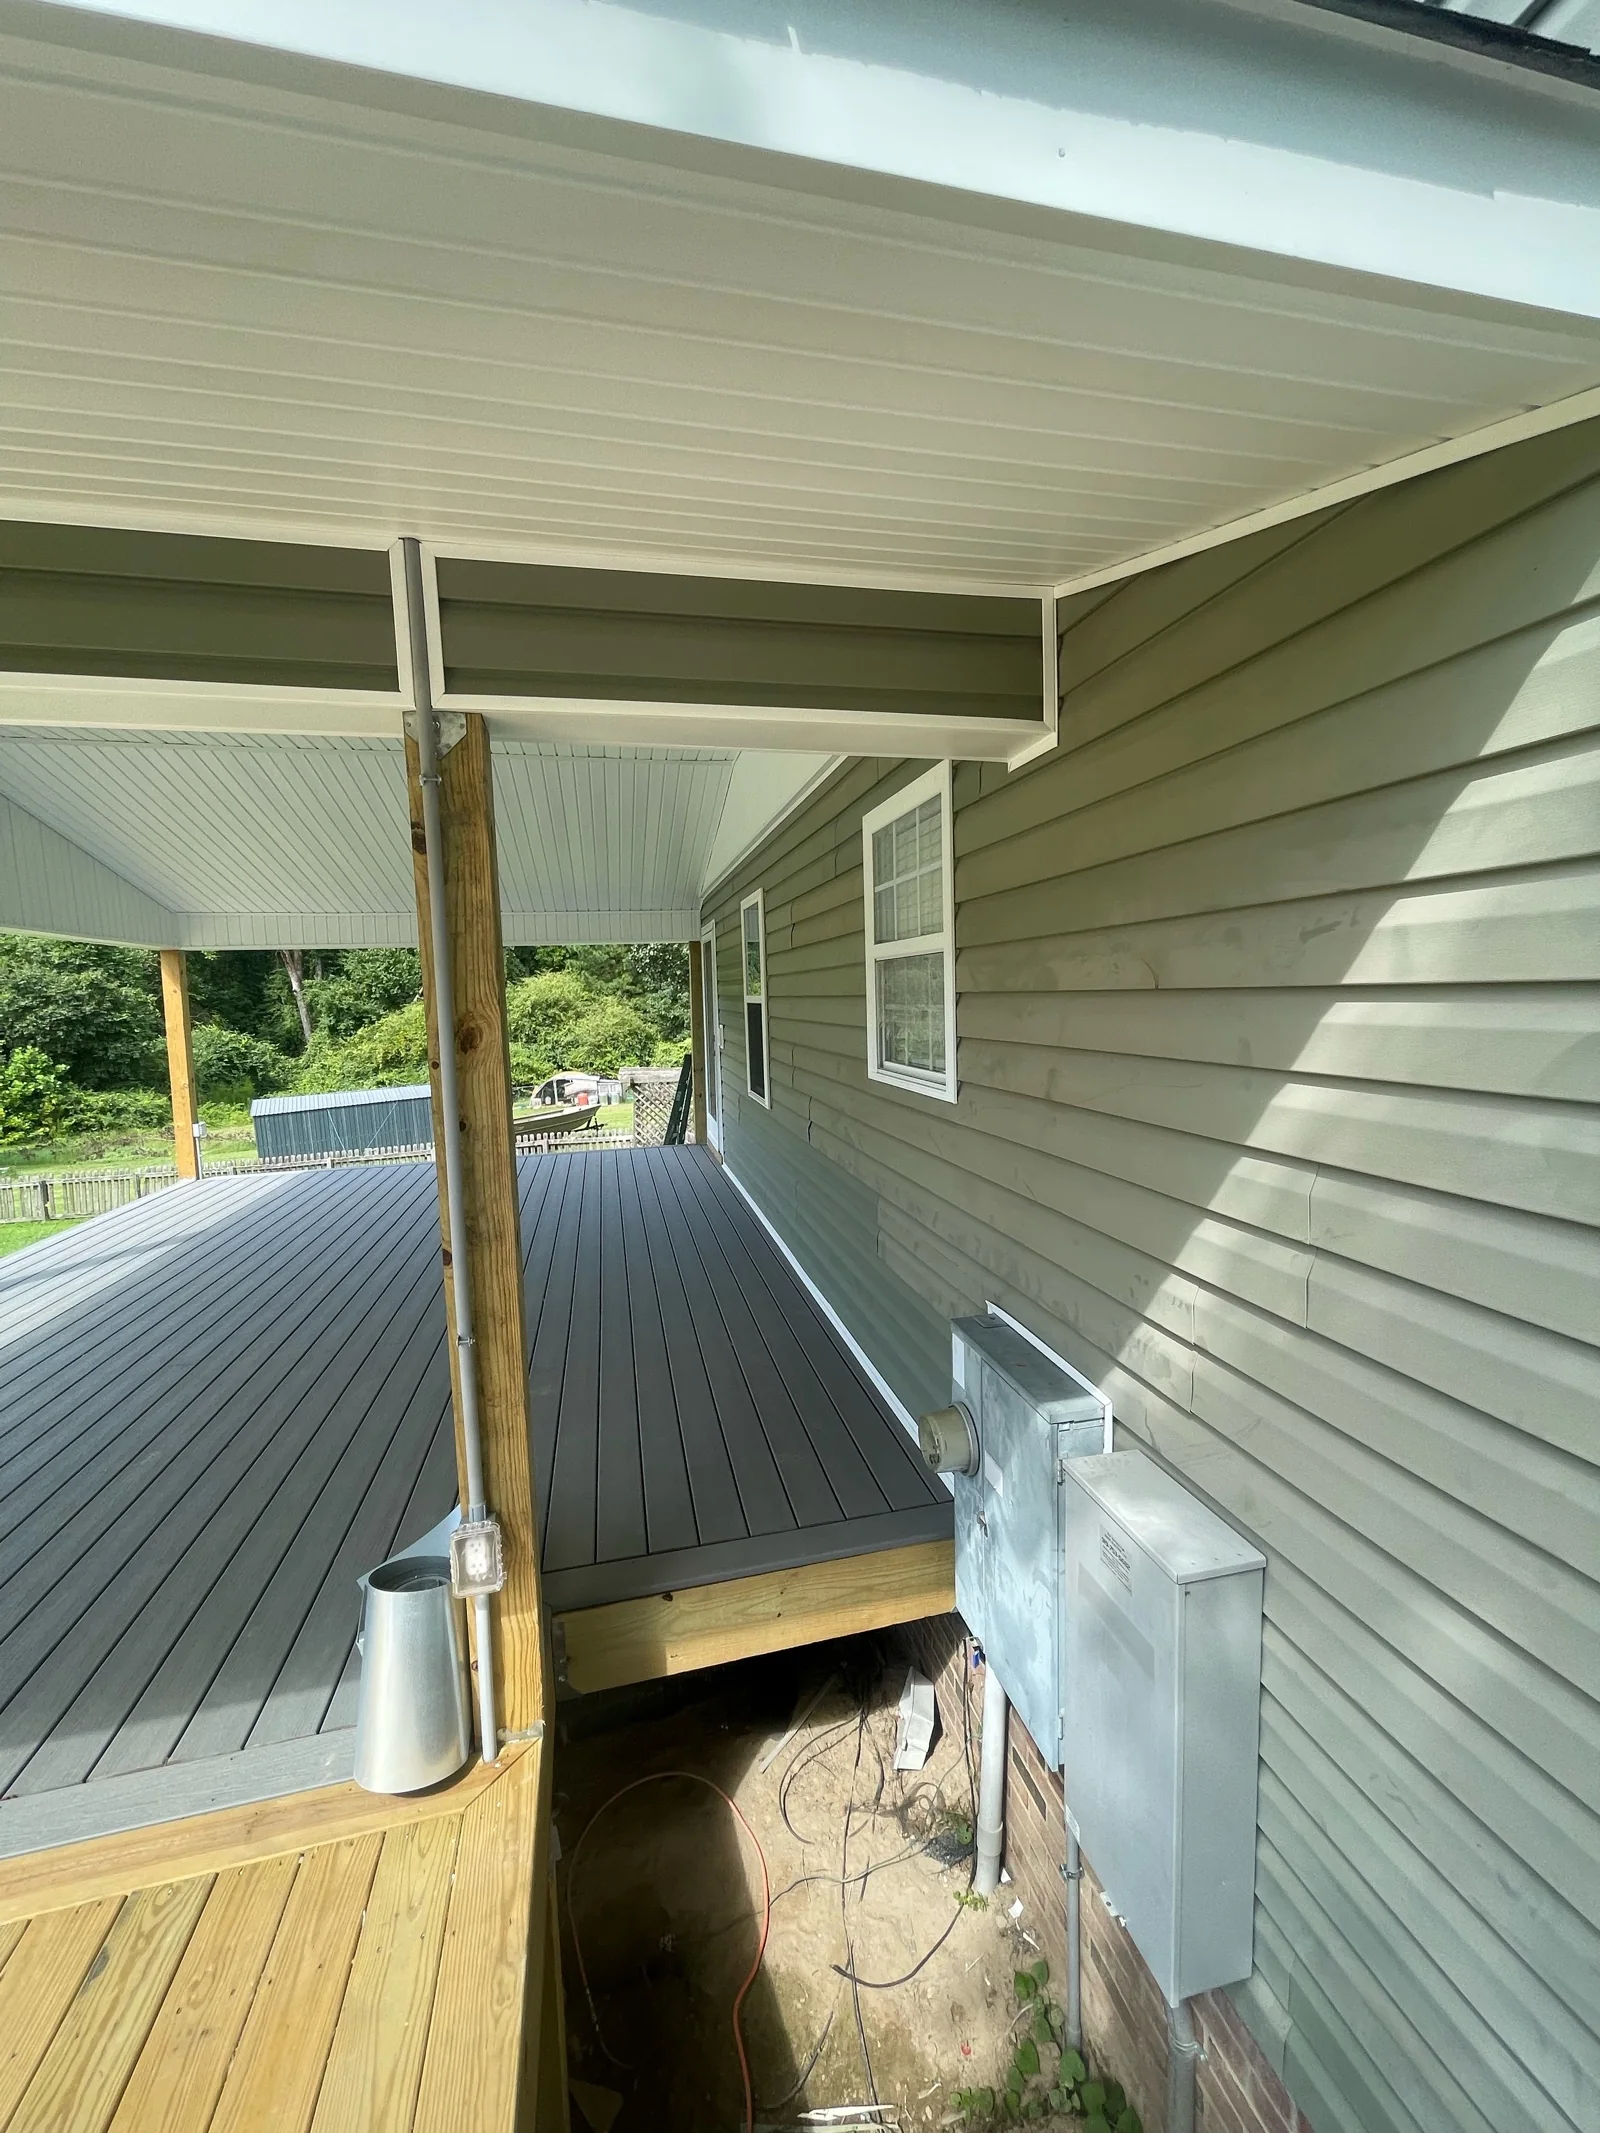
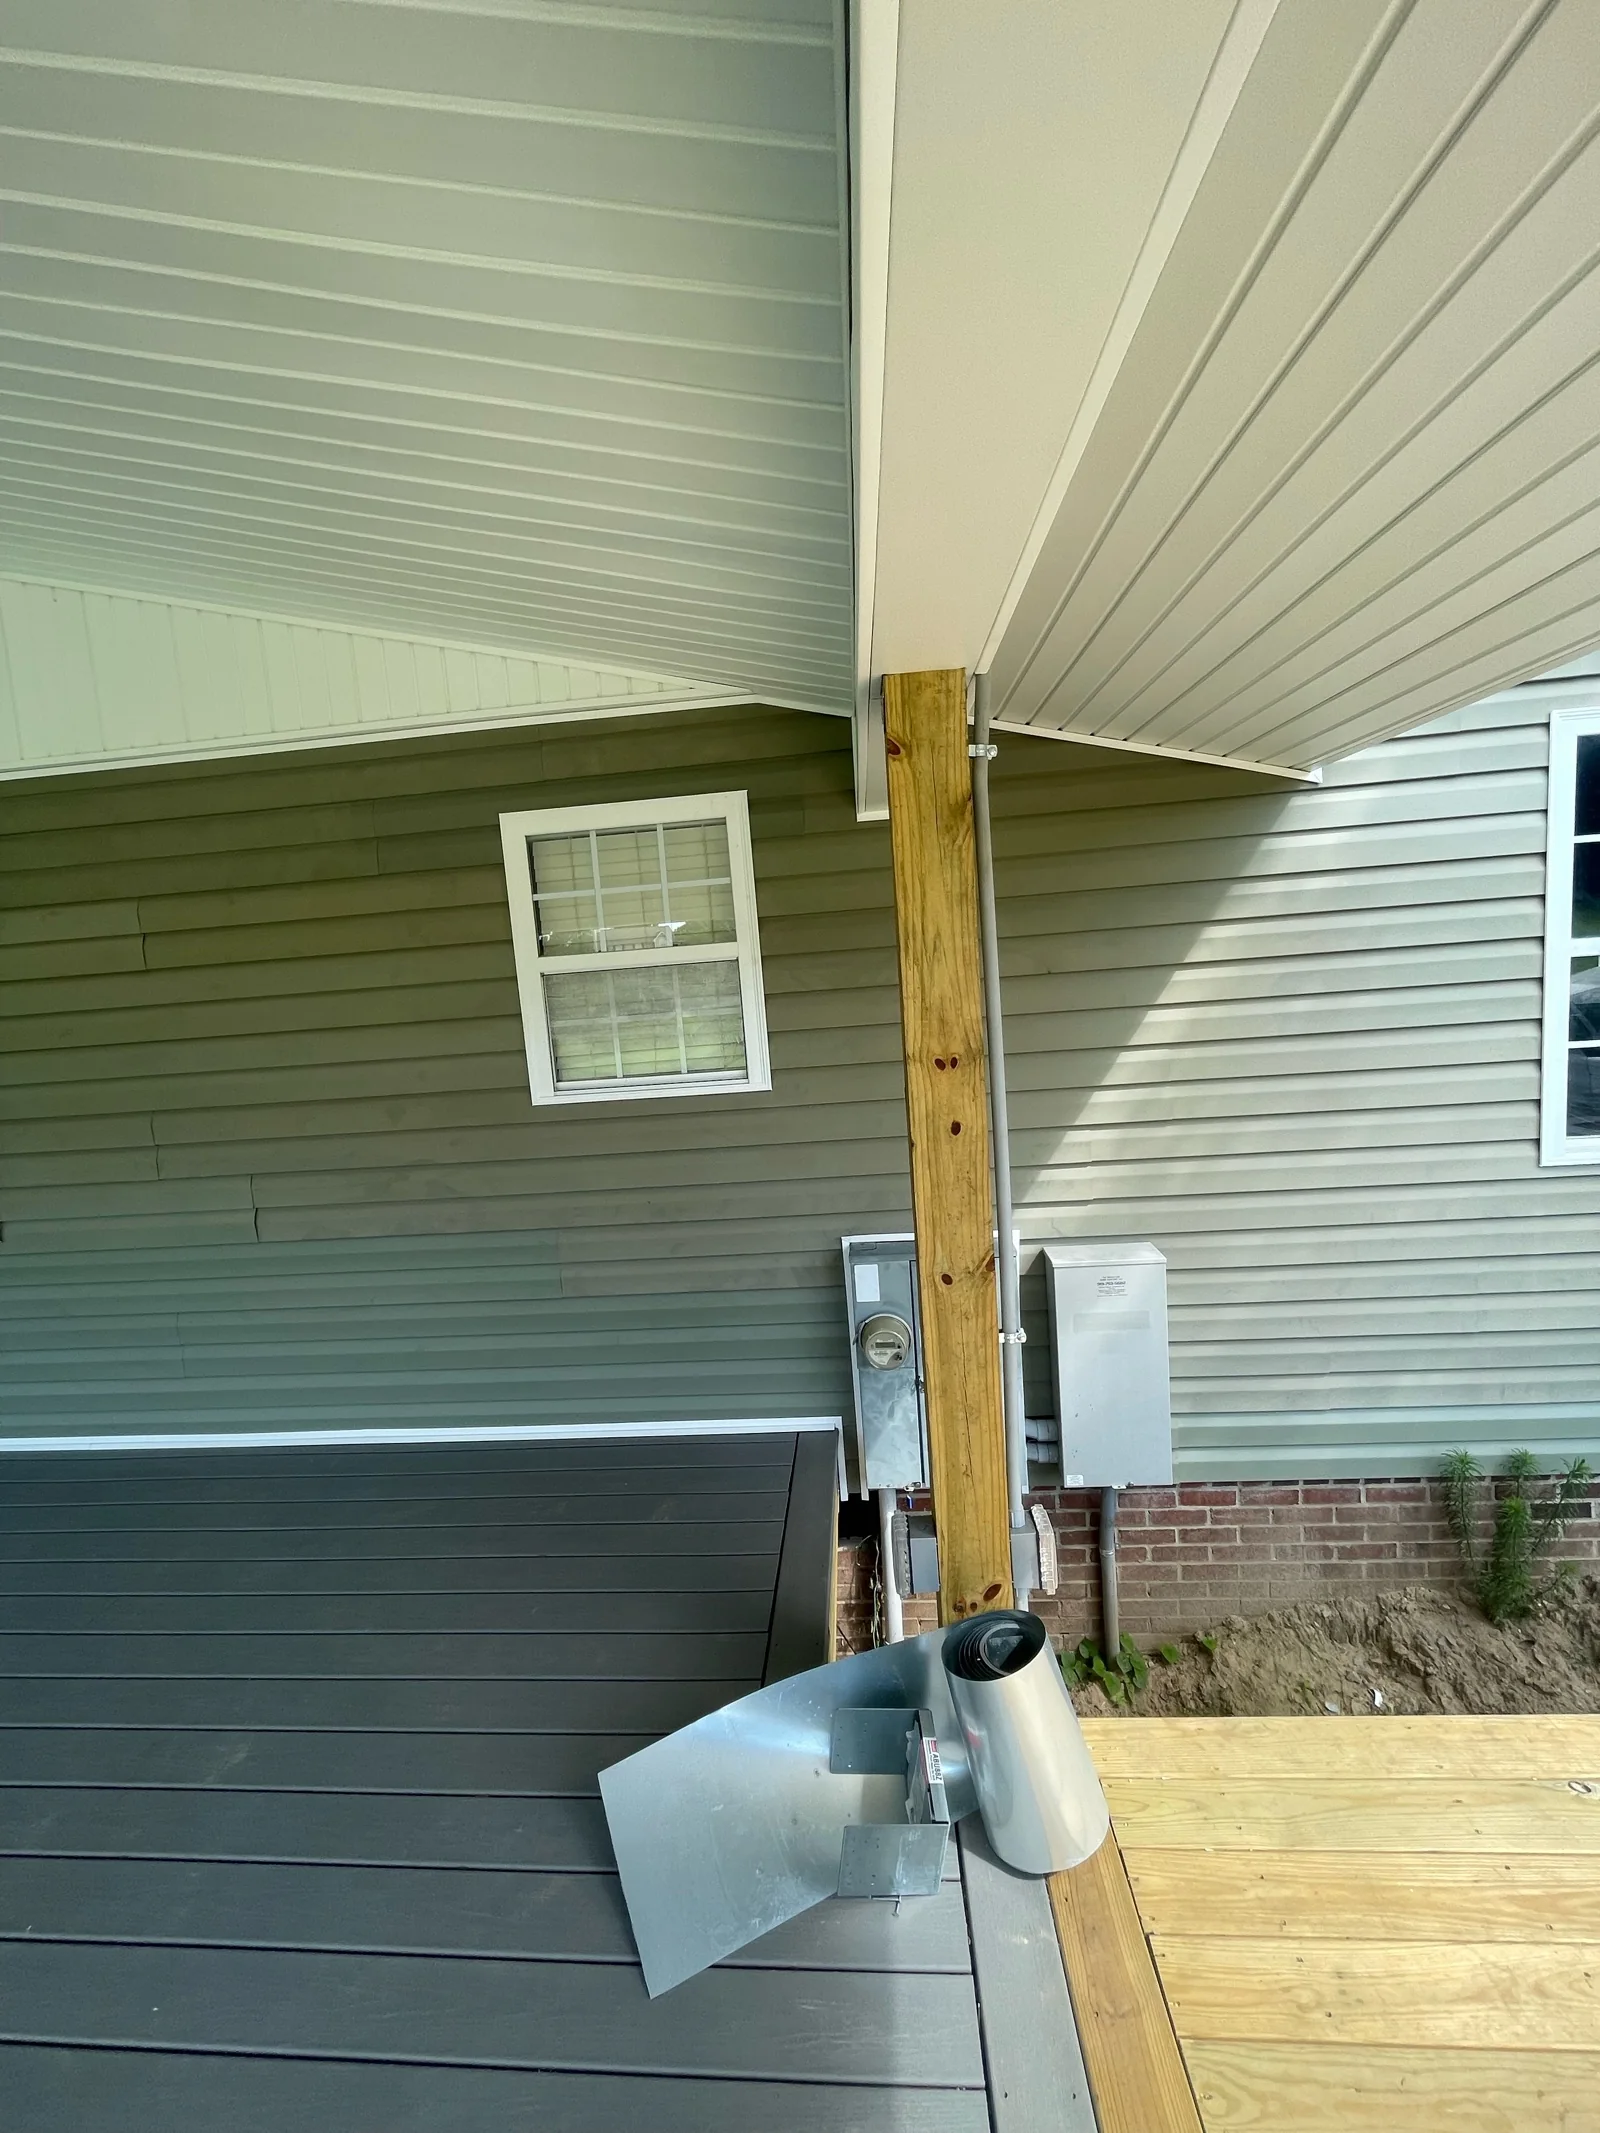
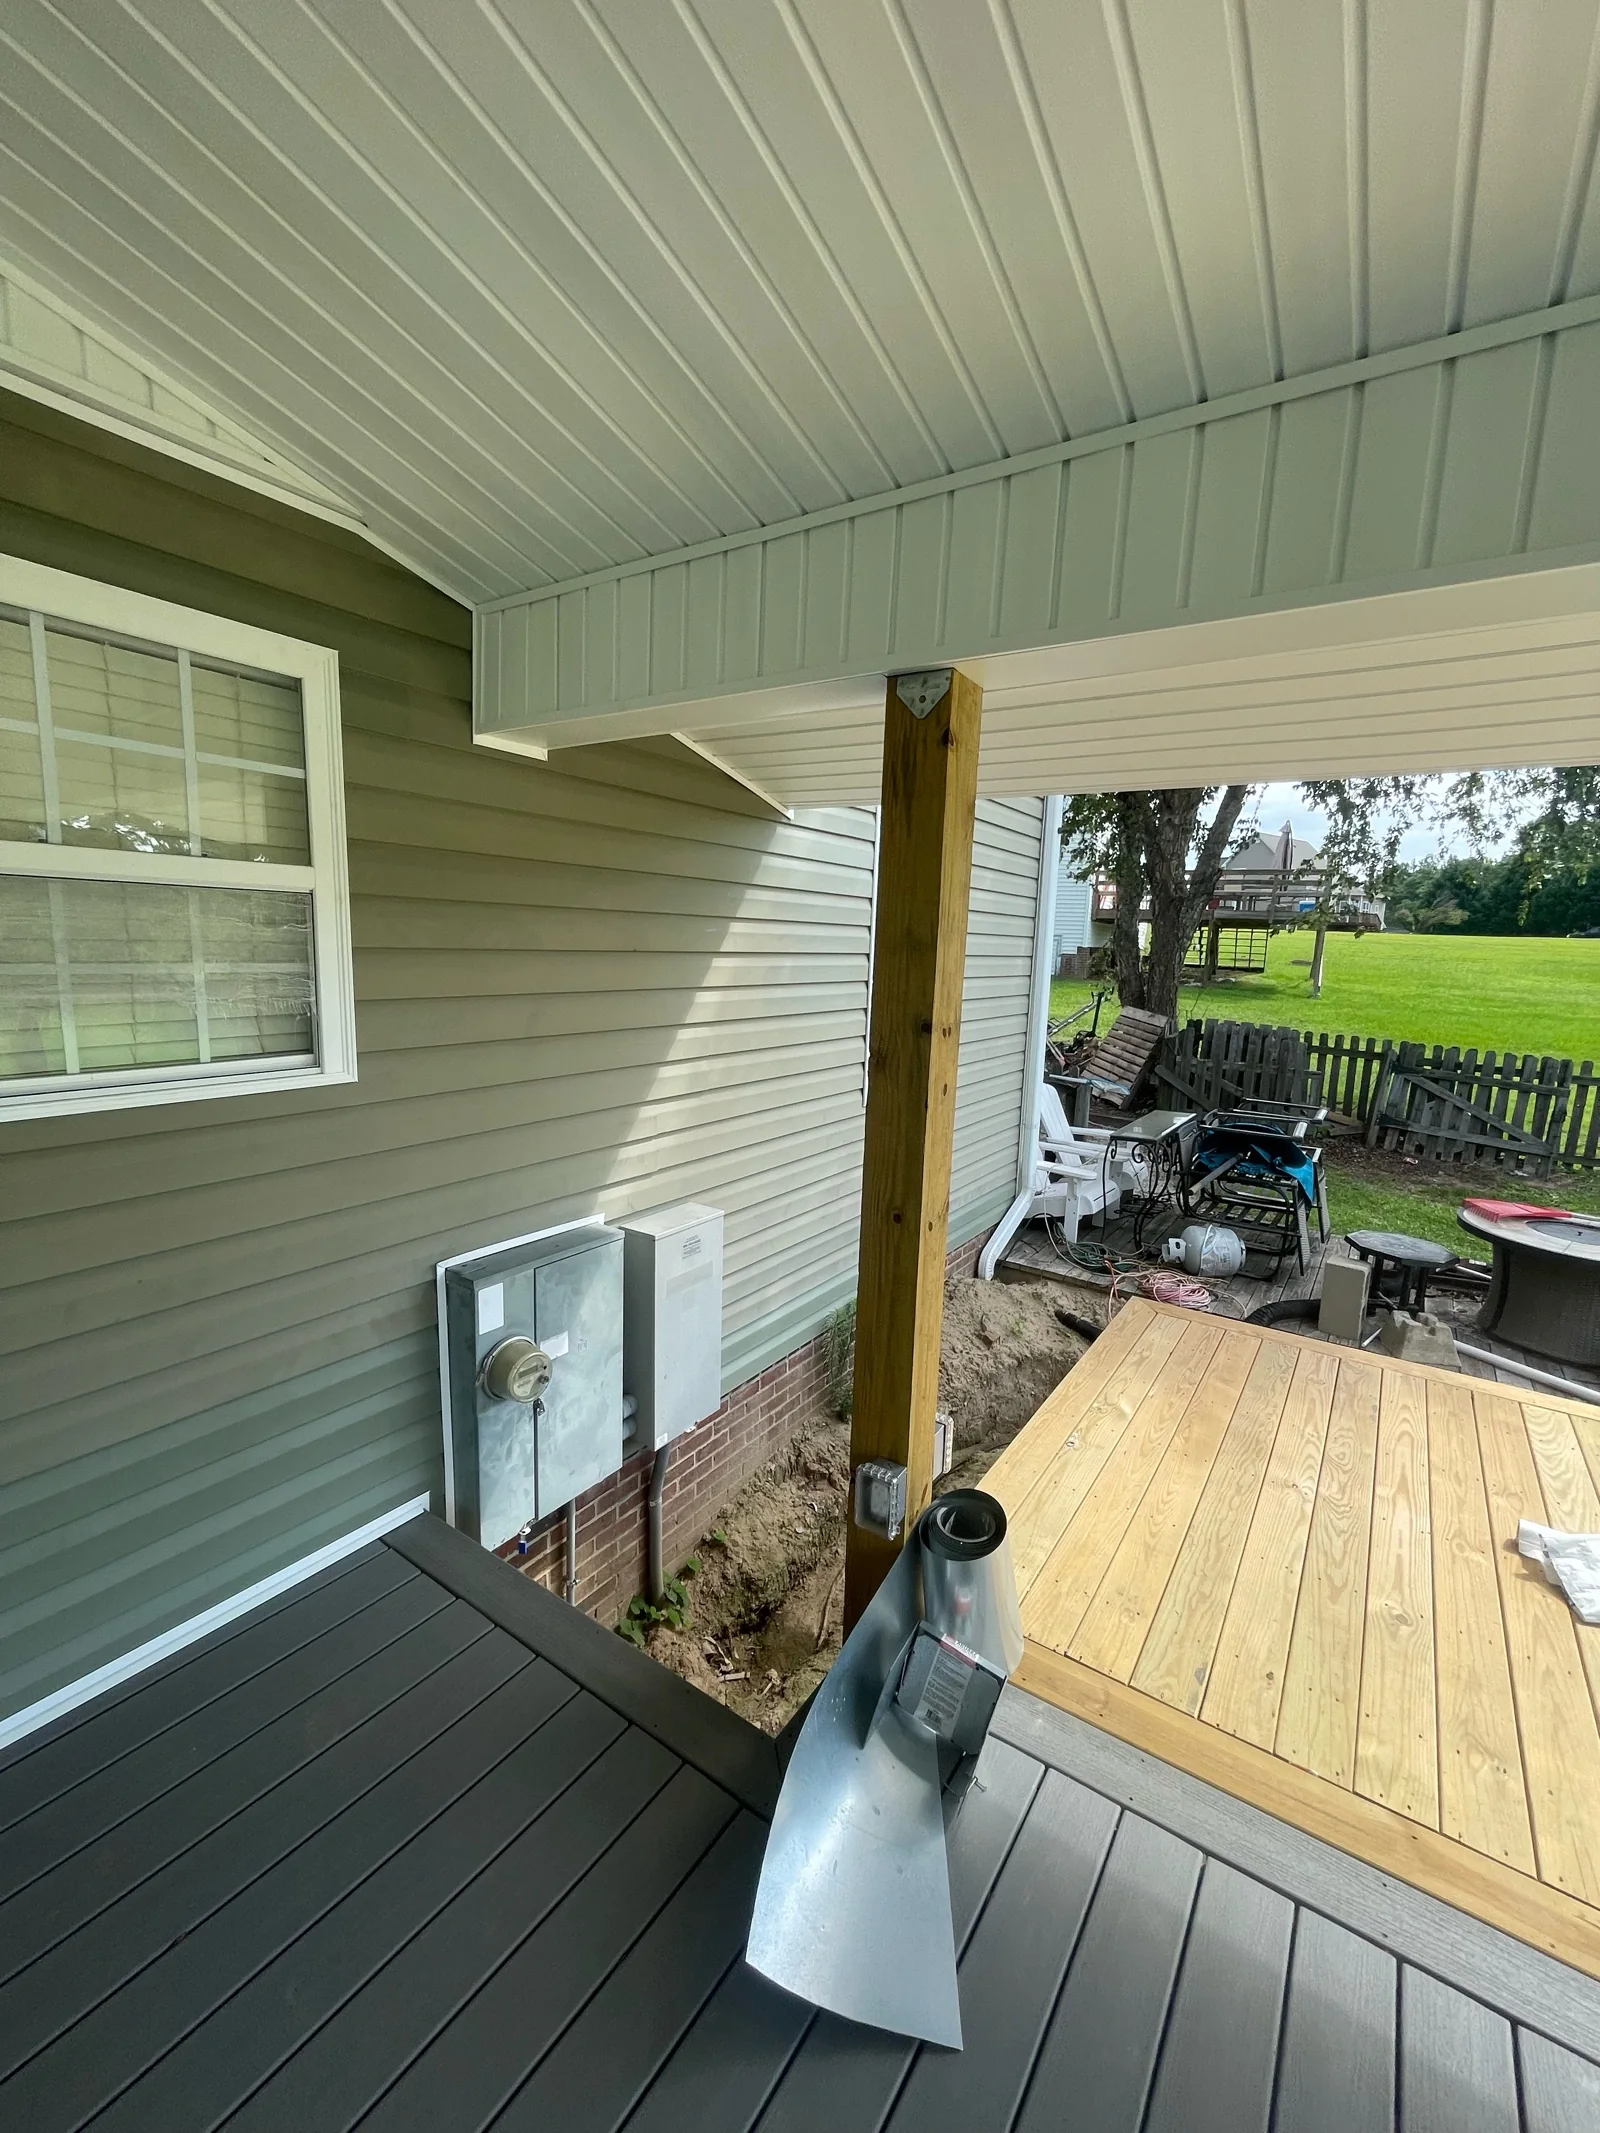
Multiple wide views help Best Screens evaluate a covered porch before a new screen system is installed. The photos show the open walls, posts, roof and ceiling connections, deck, stairs, utilities, access, and surrounding conditions.
Then photograph the details
After the overview, move closer. Photograph:
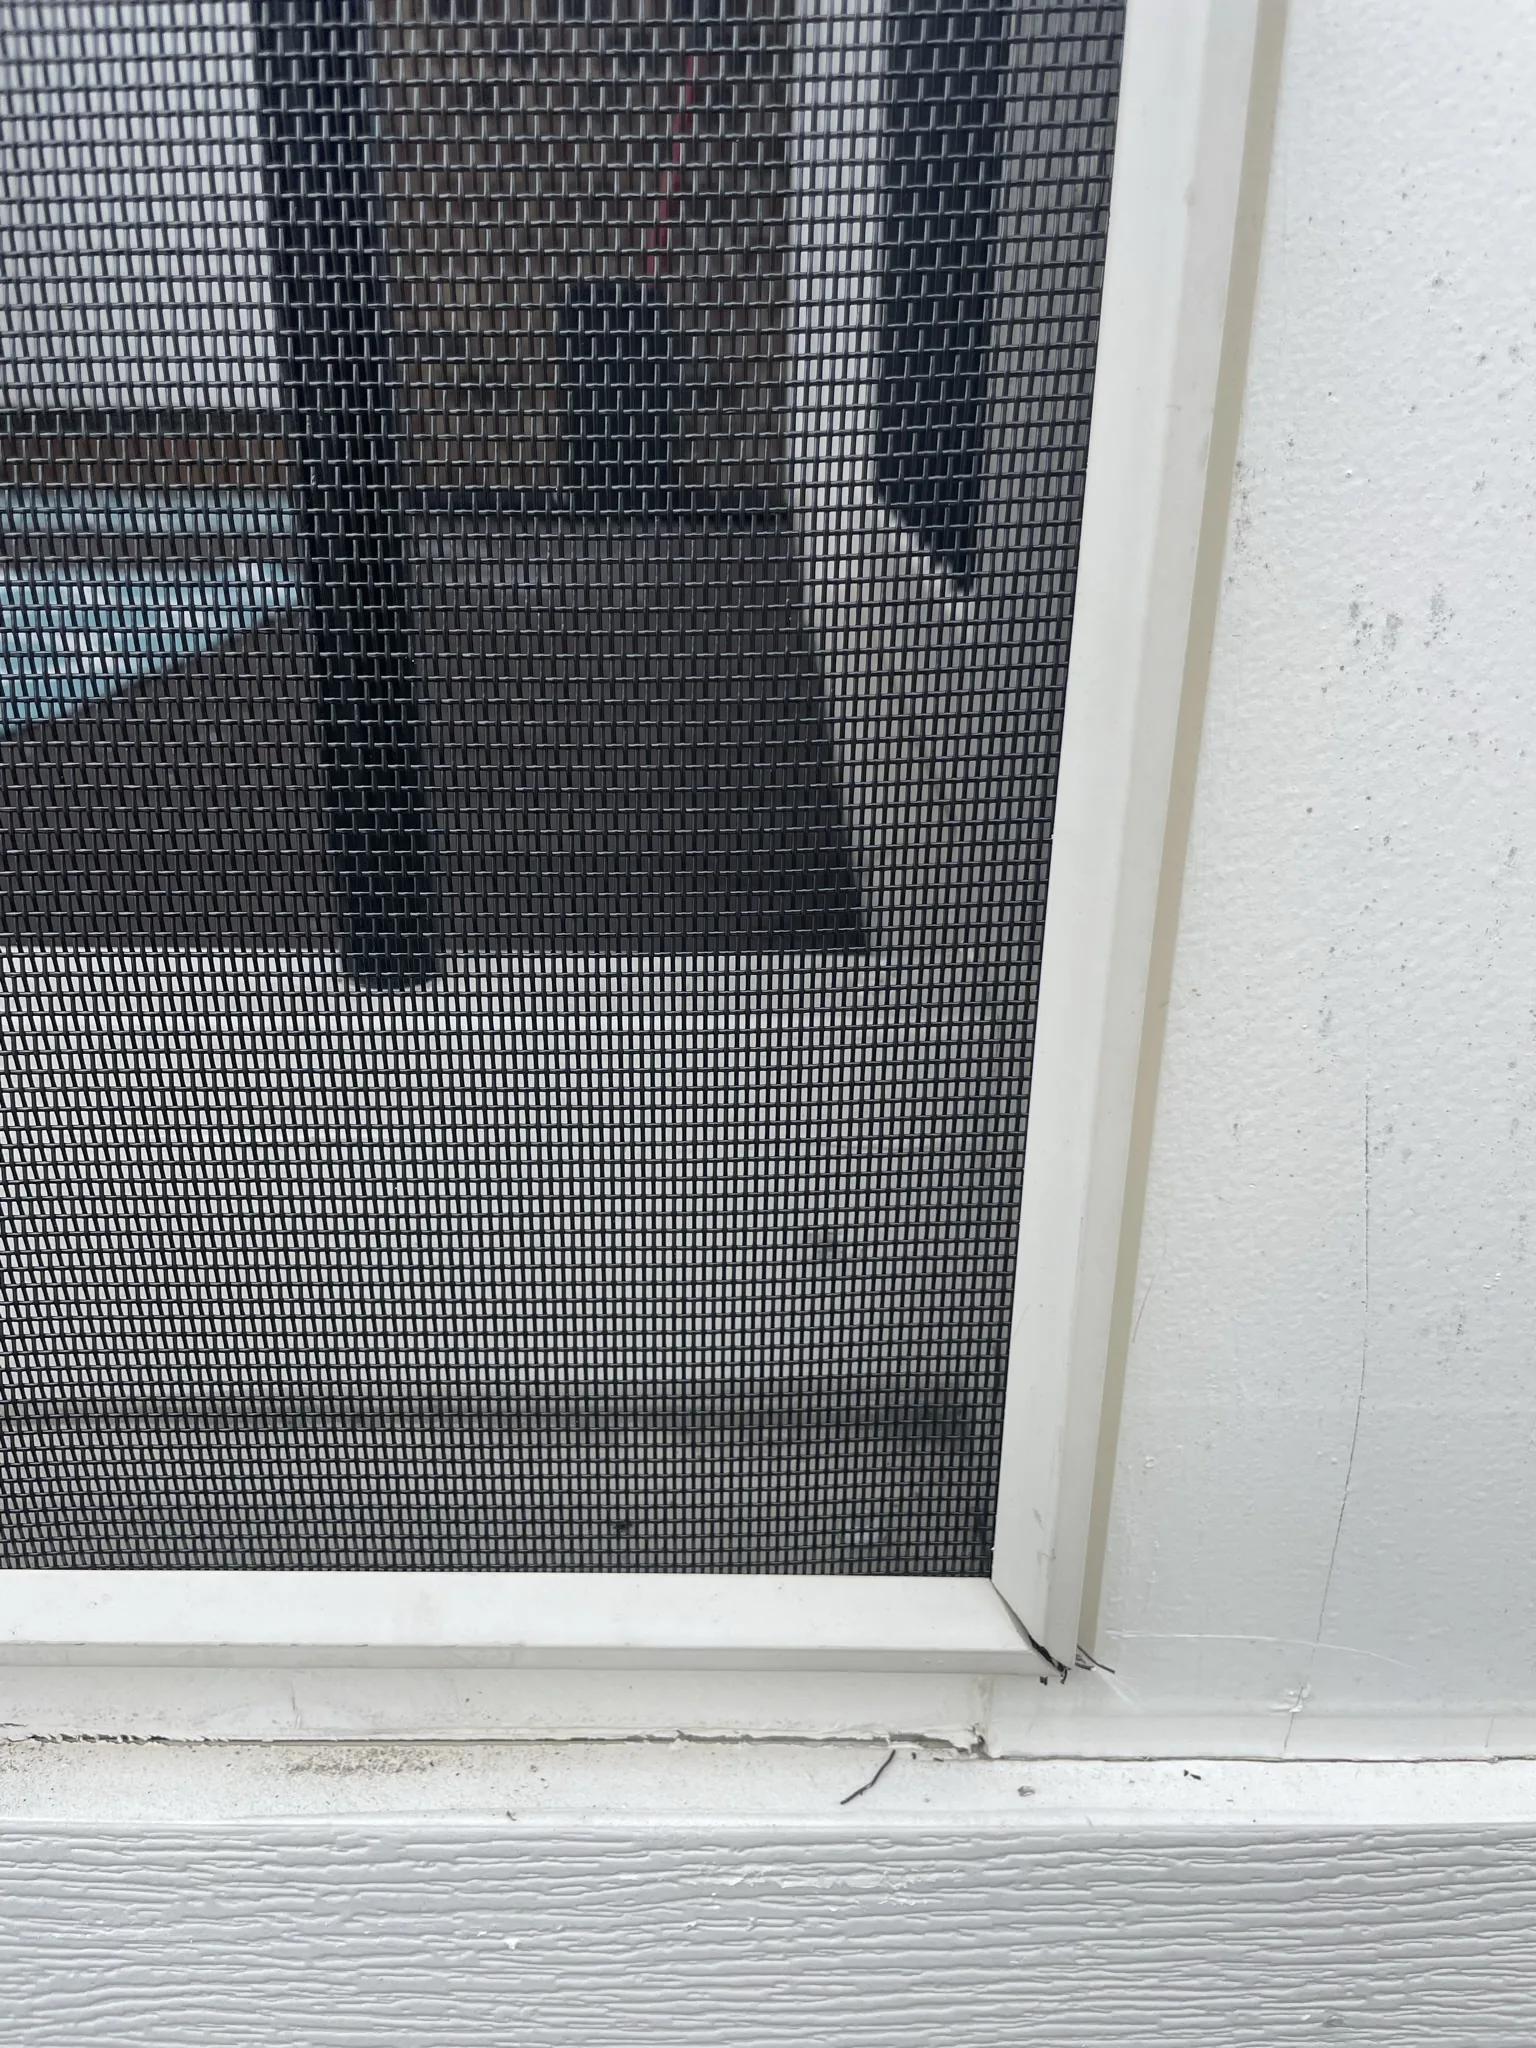
- The screen edge where it meets the frame
- Corners and joints
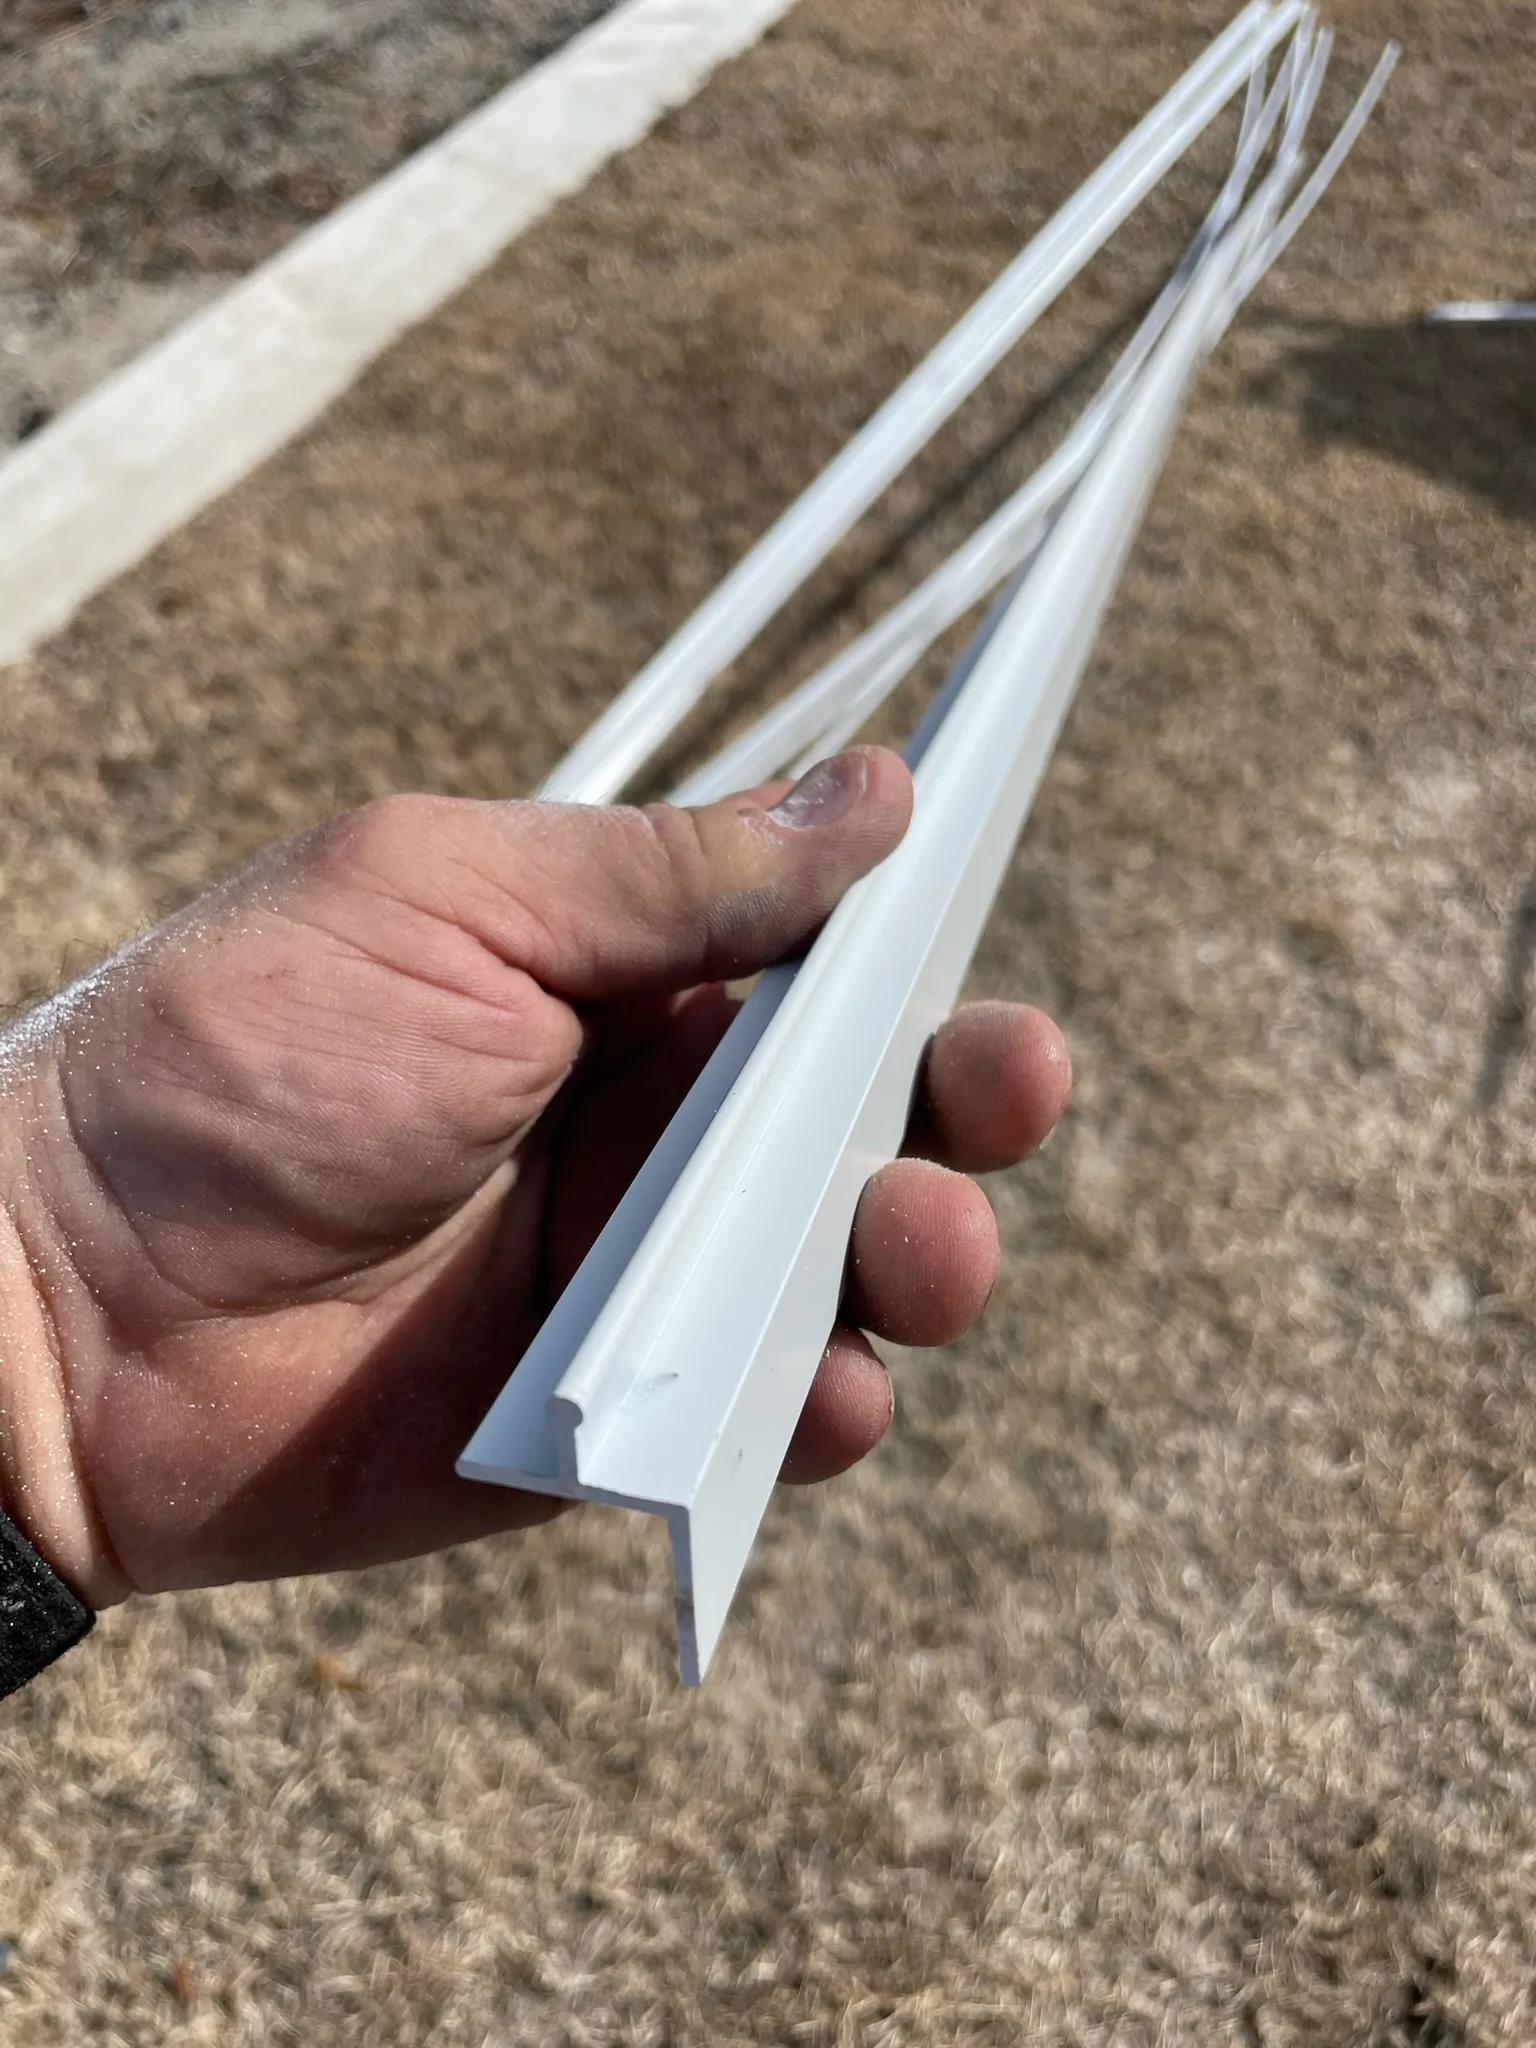
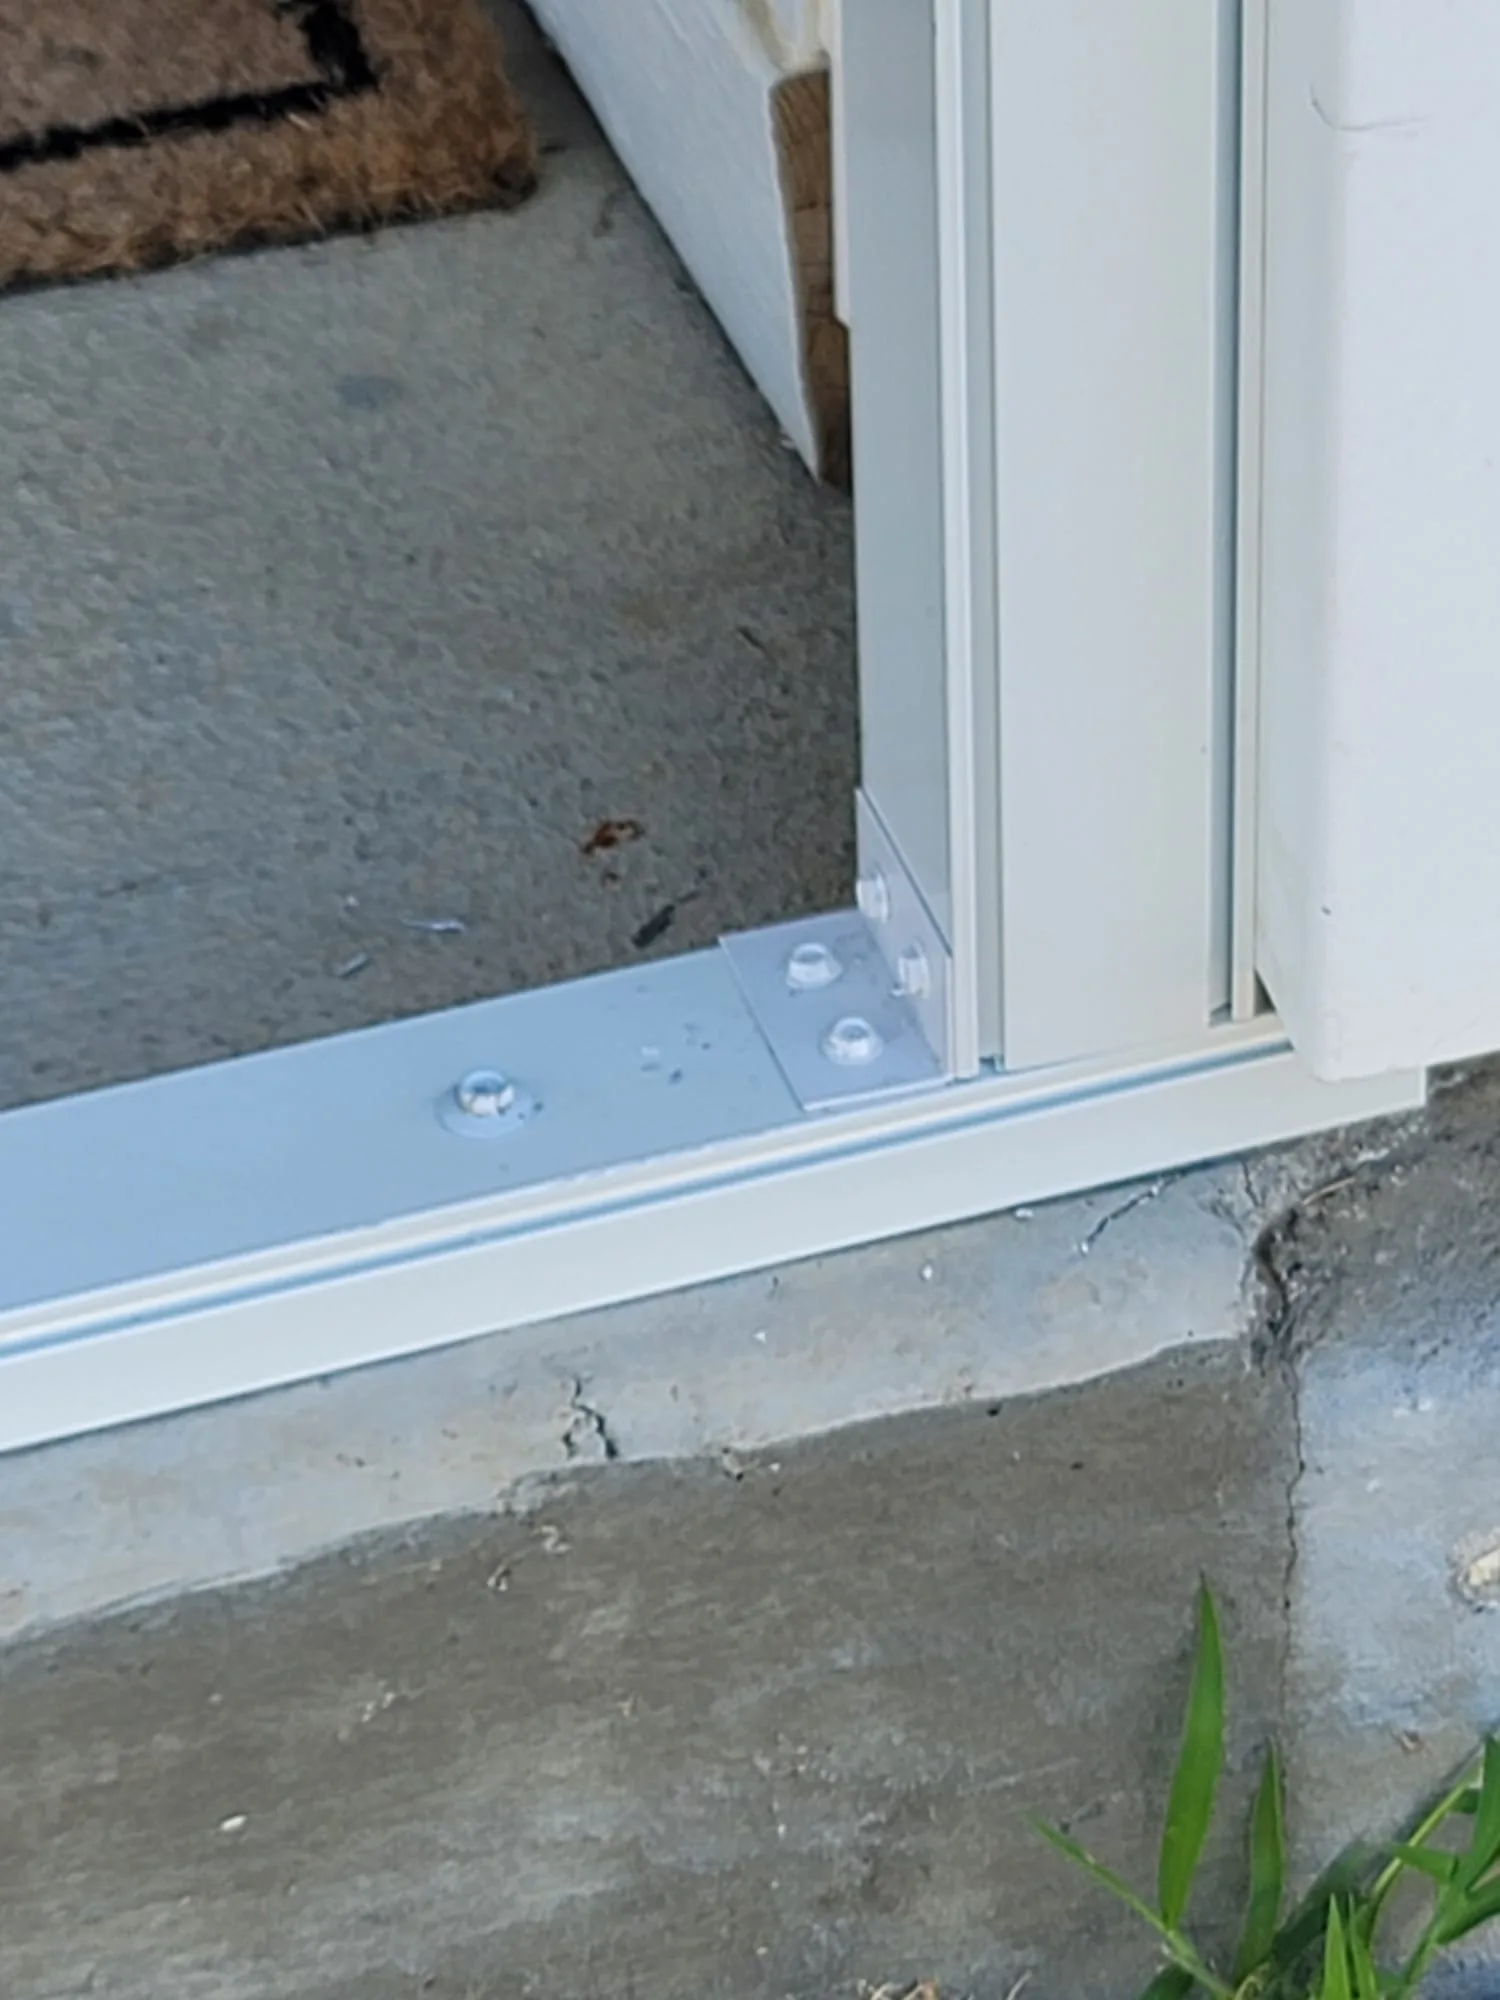
- Spline channels, caps, trim, staples, clips, or panel fasteners
- Door hinges, handles, closers, sweeps, thresholds, and latches
- Rails, pickets, kick plates, pet doors, and transitions
- Loose, torn, sagging, faded, or damaged mesh
- Bent frames, cracked components, missing hardware, or pulled spline
- Wood that appears soft, split, stained, swollen, or deteriorated
- Areas where water enters or collects
- Any part you want matched to existing material or color
Use good daylight and tap the screen to focus before taking the photo. Avoid digital zoom when possible; step closer instead. Review each image before submitting it to make sure the screen edge and hardware are sharp enough to identify.
What to send for a screened porch
For a porch repair, rescreen, or screening-system change, send:
- One exterior overview of every screened wall
- One interior overview showing the room and openings
- Straight-on photos of each wall
- Close-ups of the top, bottom, sides, and corners of representative openings
- Clear photos showing how the mesh is attached
- The porch door, including its frame, hinges, closer, latch, sweep, and threshold
- Rails, pickets, chair rails, kick plates, pet doors, and other opening divisions
- Every visibly damaged or loose area
- The wood or aluminum framing around the screen
- The roofline, floor edge, stairs, and exterior access conditions
- Any areas that may require a ladder, lift, roof access, or work over landscaping or equipment
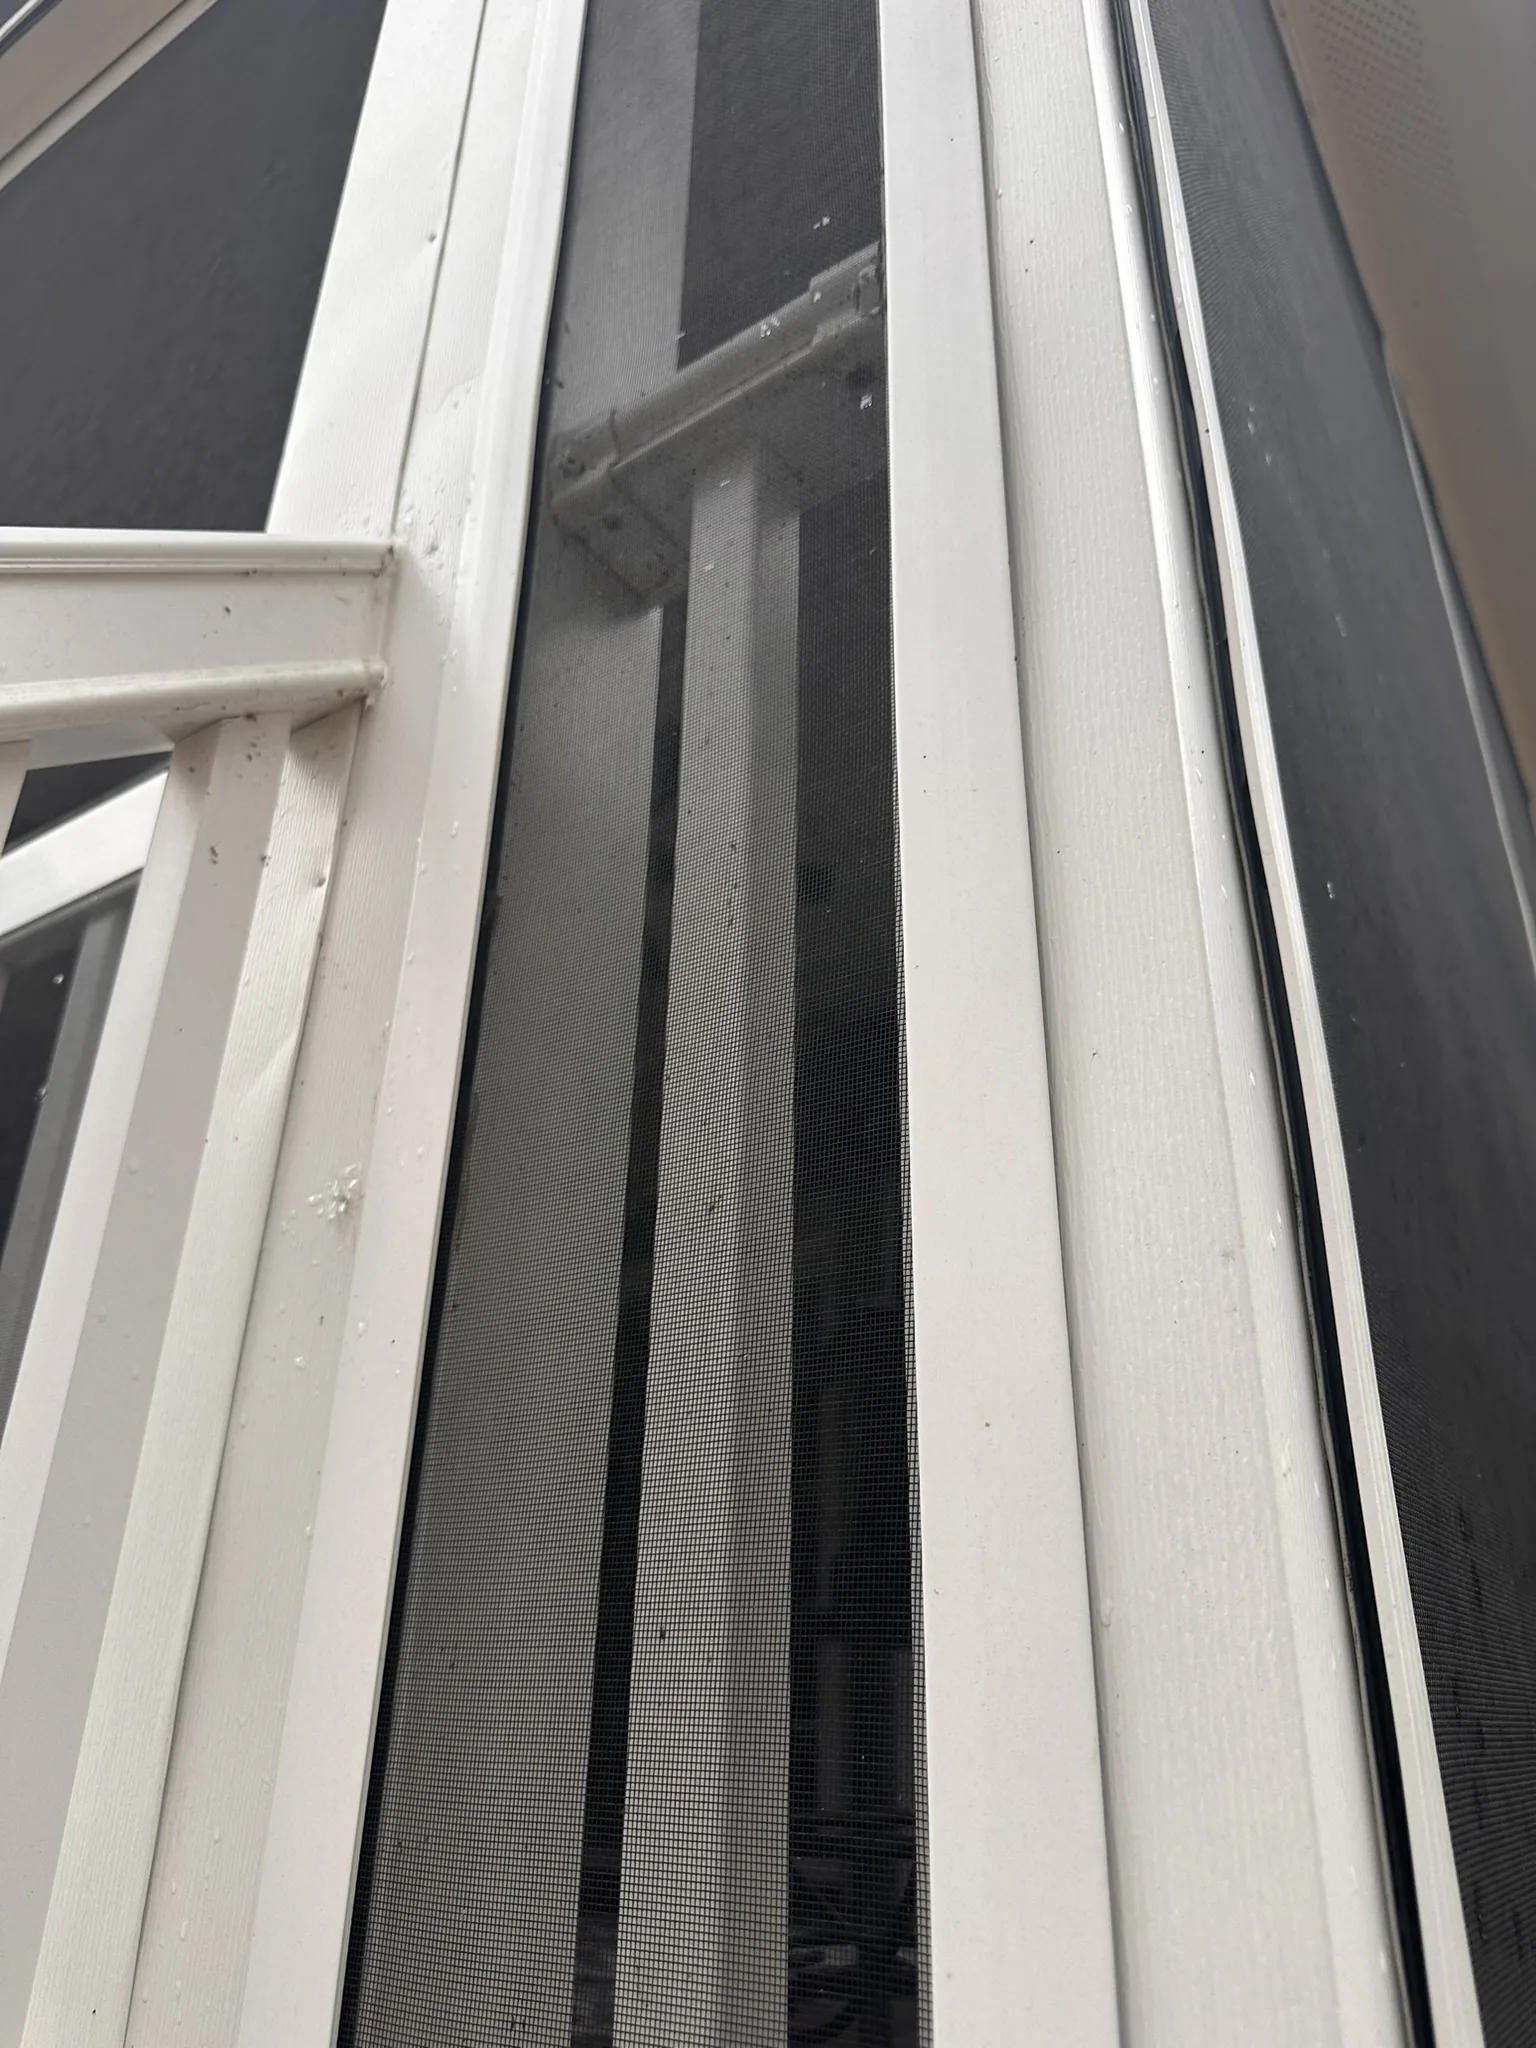
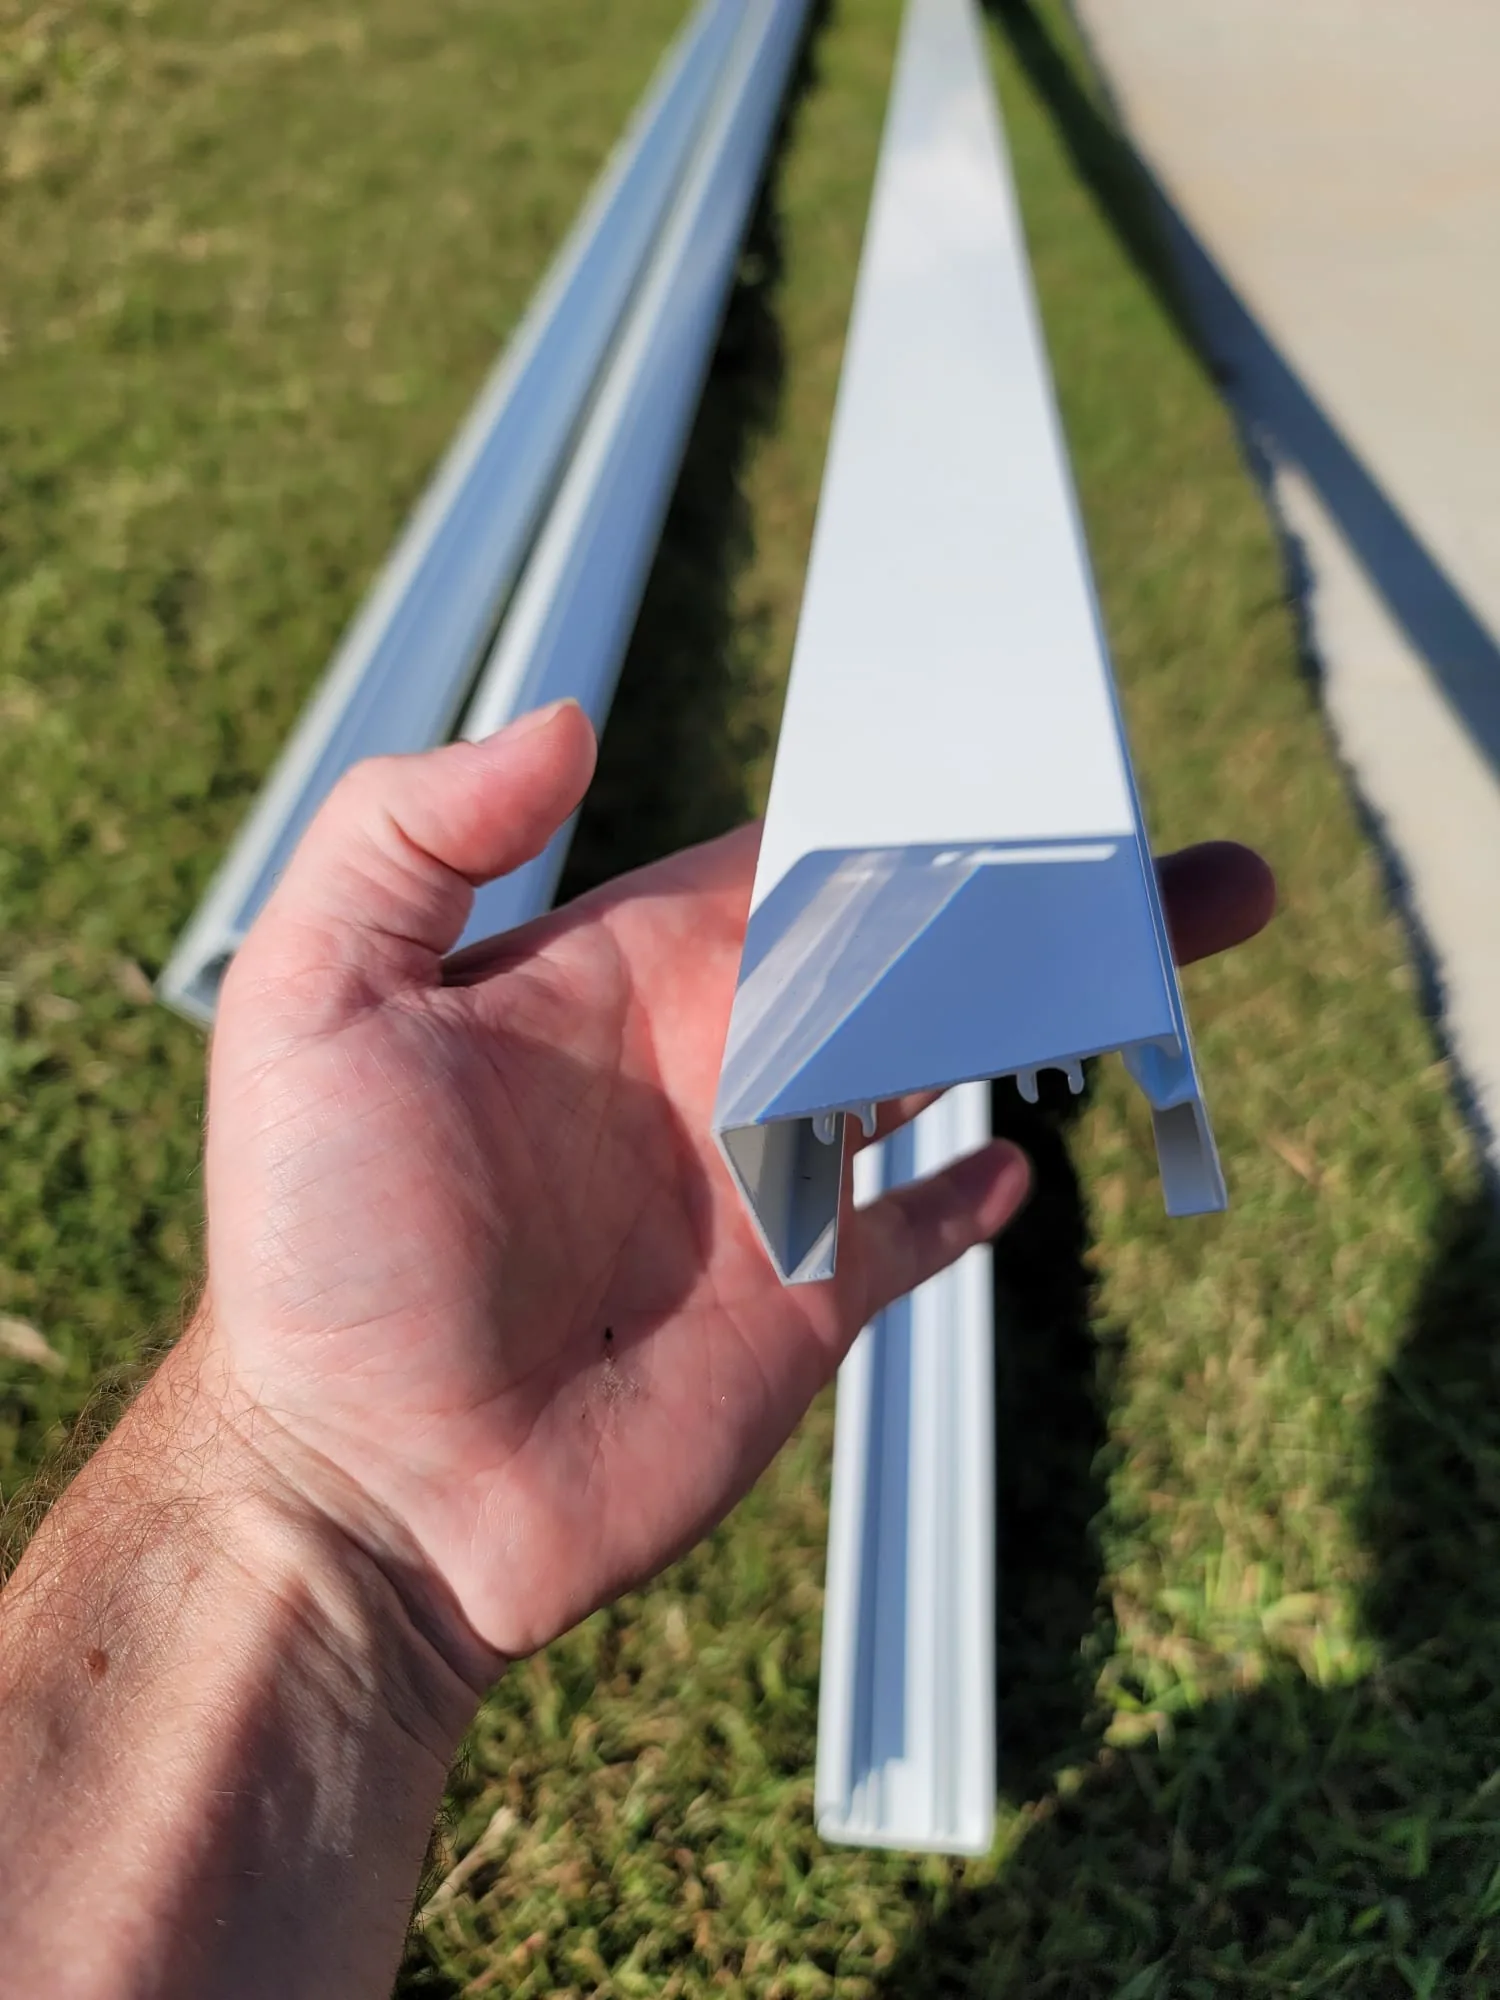
Tell us whether you want a localized repair, replacement of one panel, a full rescreen, or a different installation system. If you are unsure, say what is bothering you and what result you want. Best Screens can help identify whether the existing installation appears to be stapled screening, an applied system, removable aluminum panels, or extruded-aluminum framing.
For a comparison of those systems, see SCREENEZE vs. Stapled Screening vs. Removable Aluminum Panels vs. Extruded-Aluminum Enclosures.
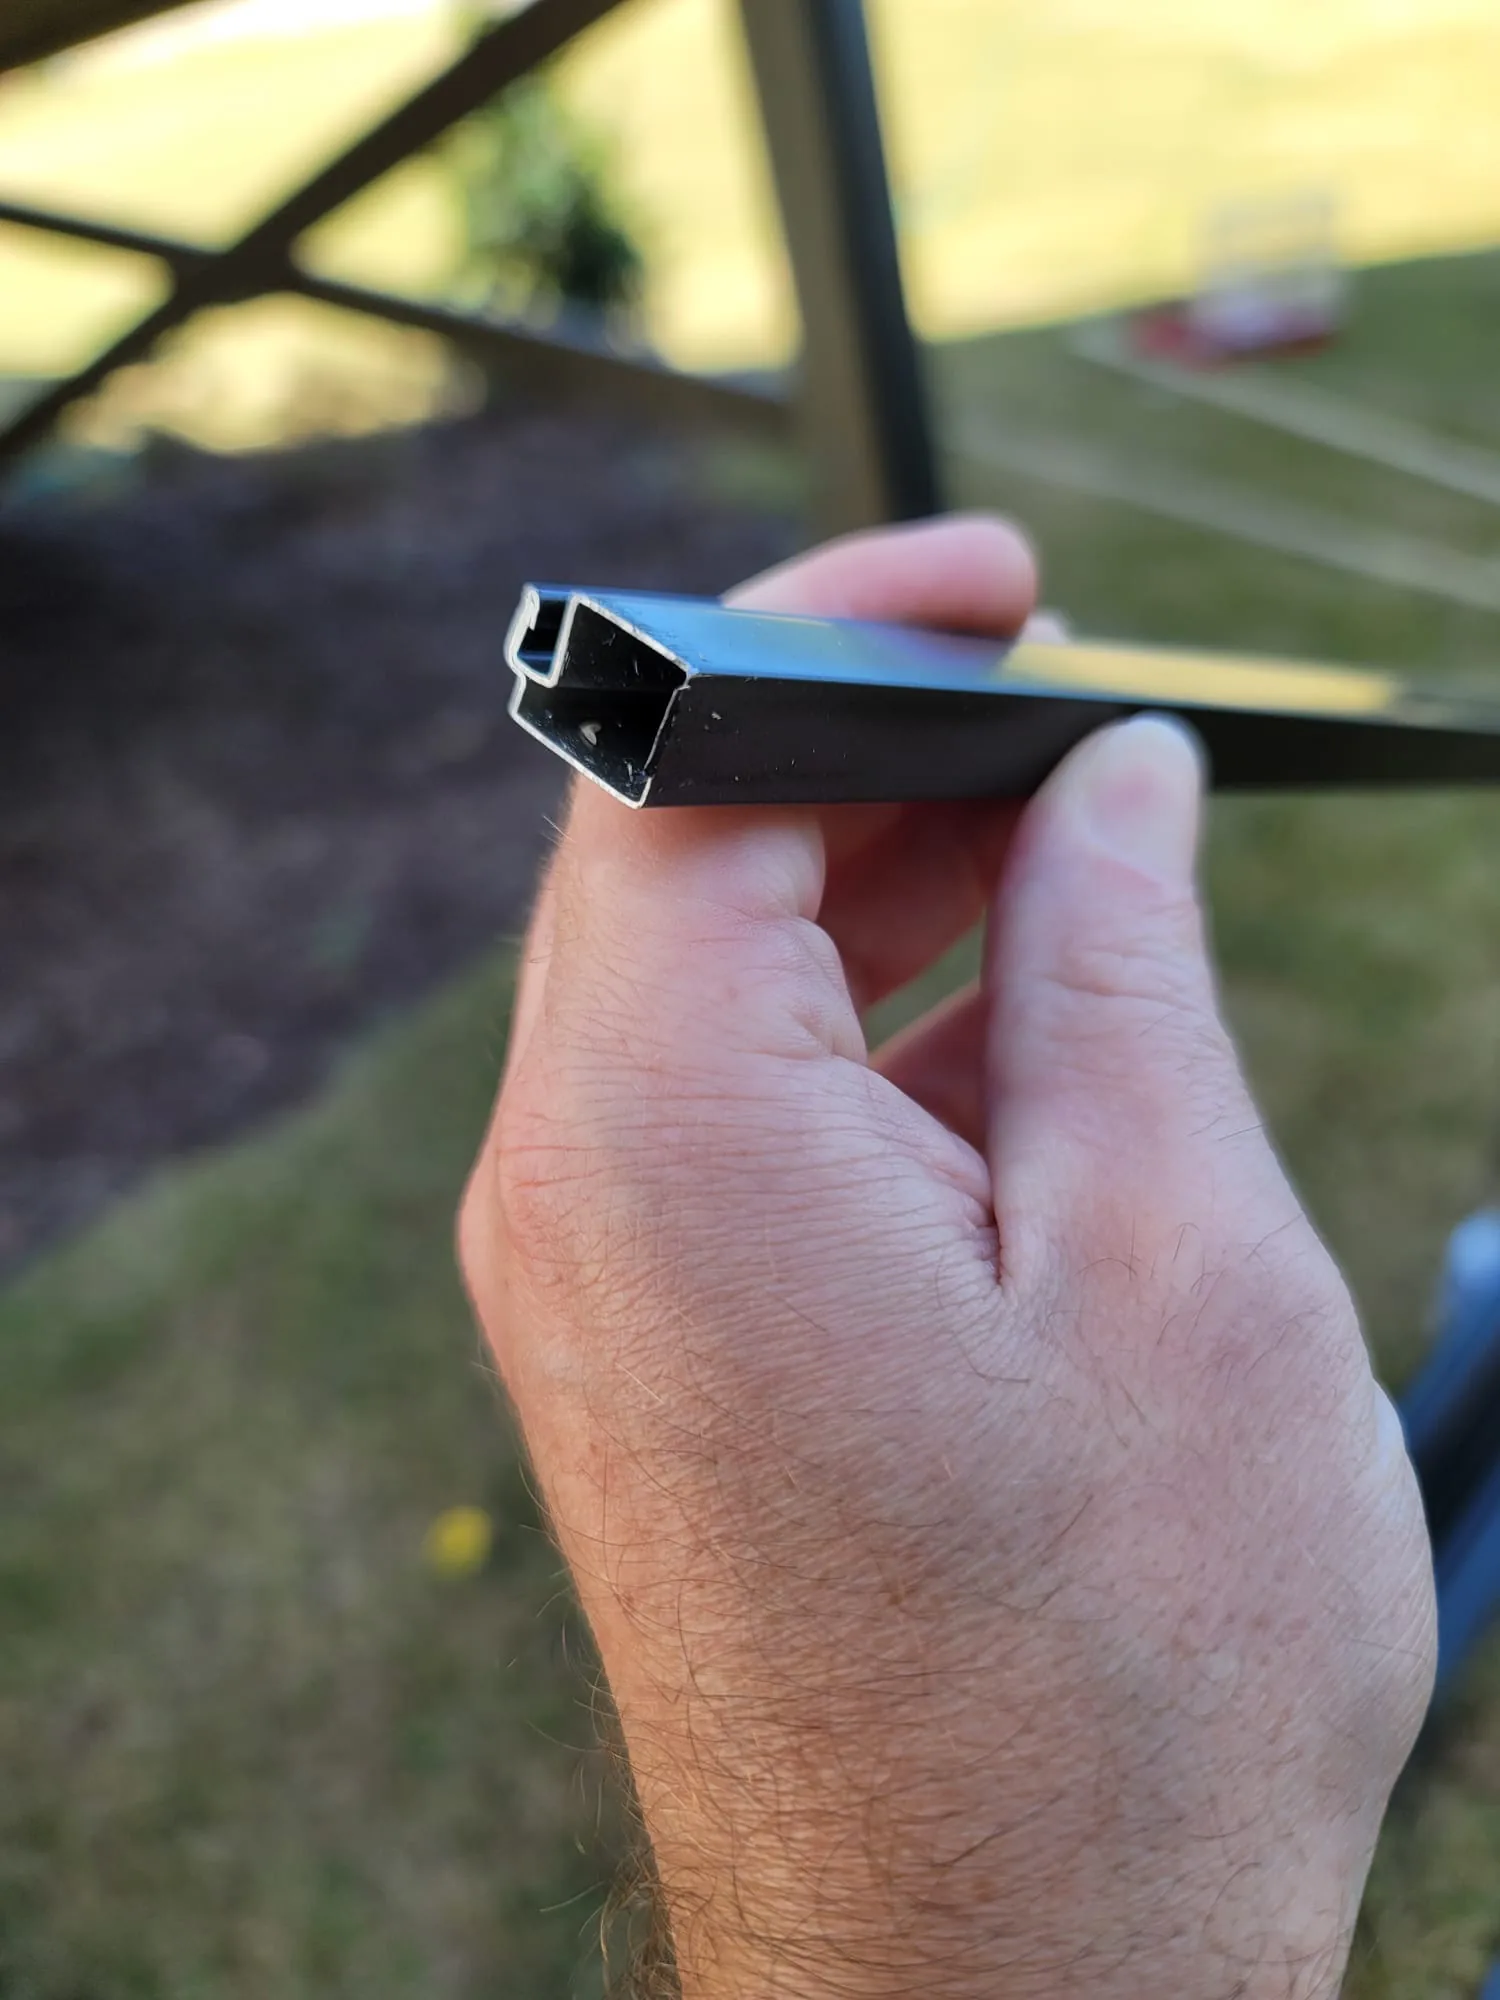
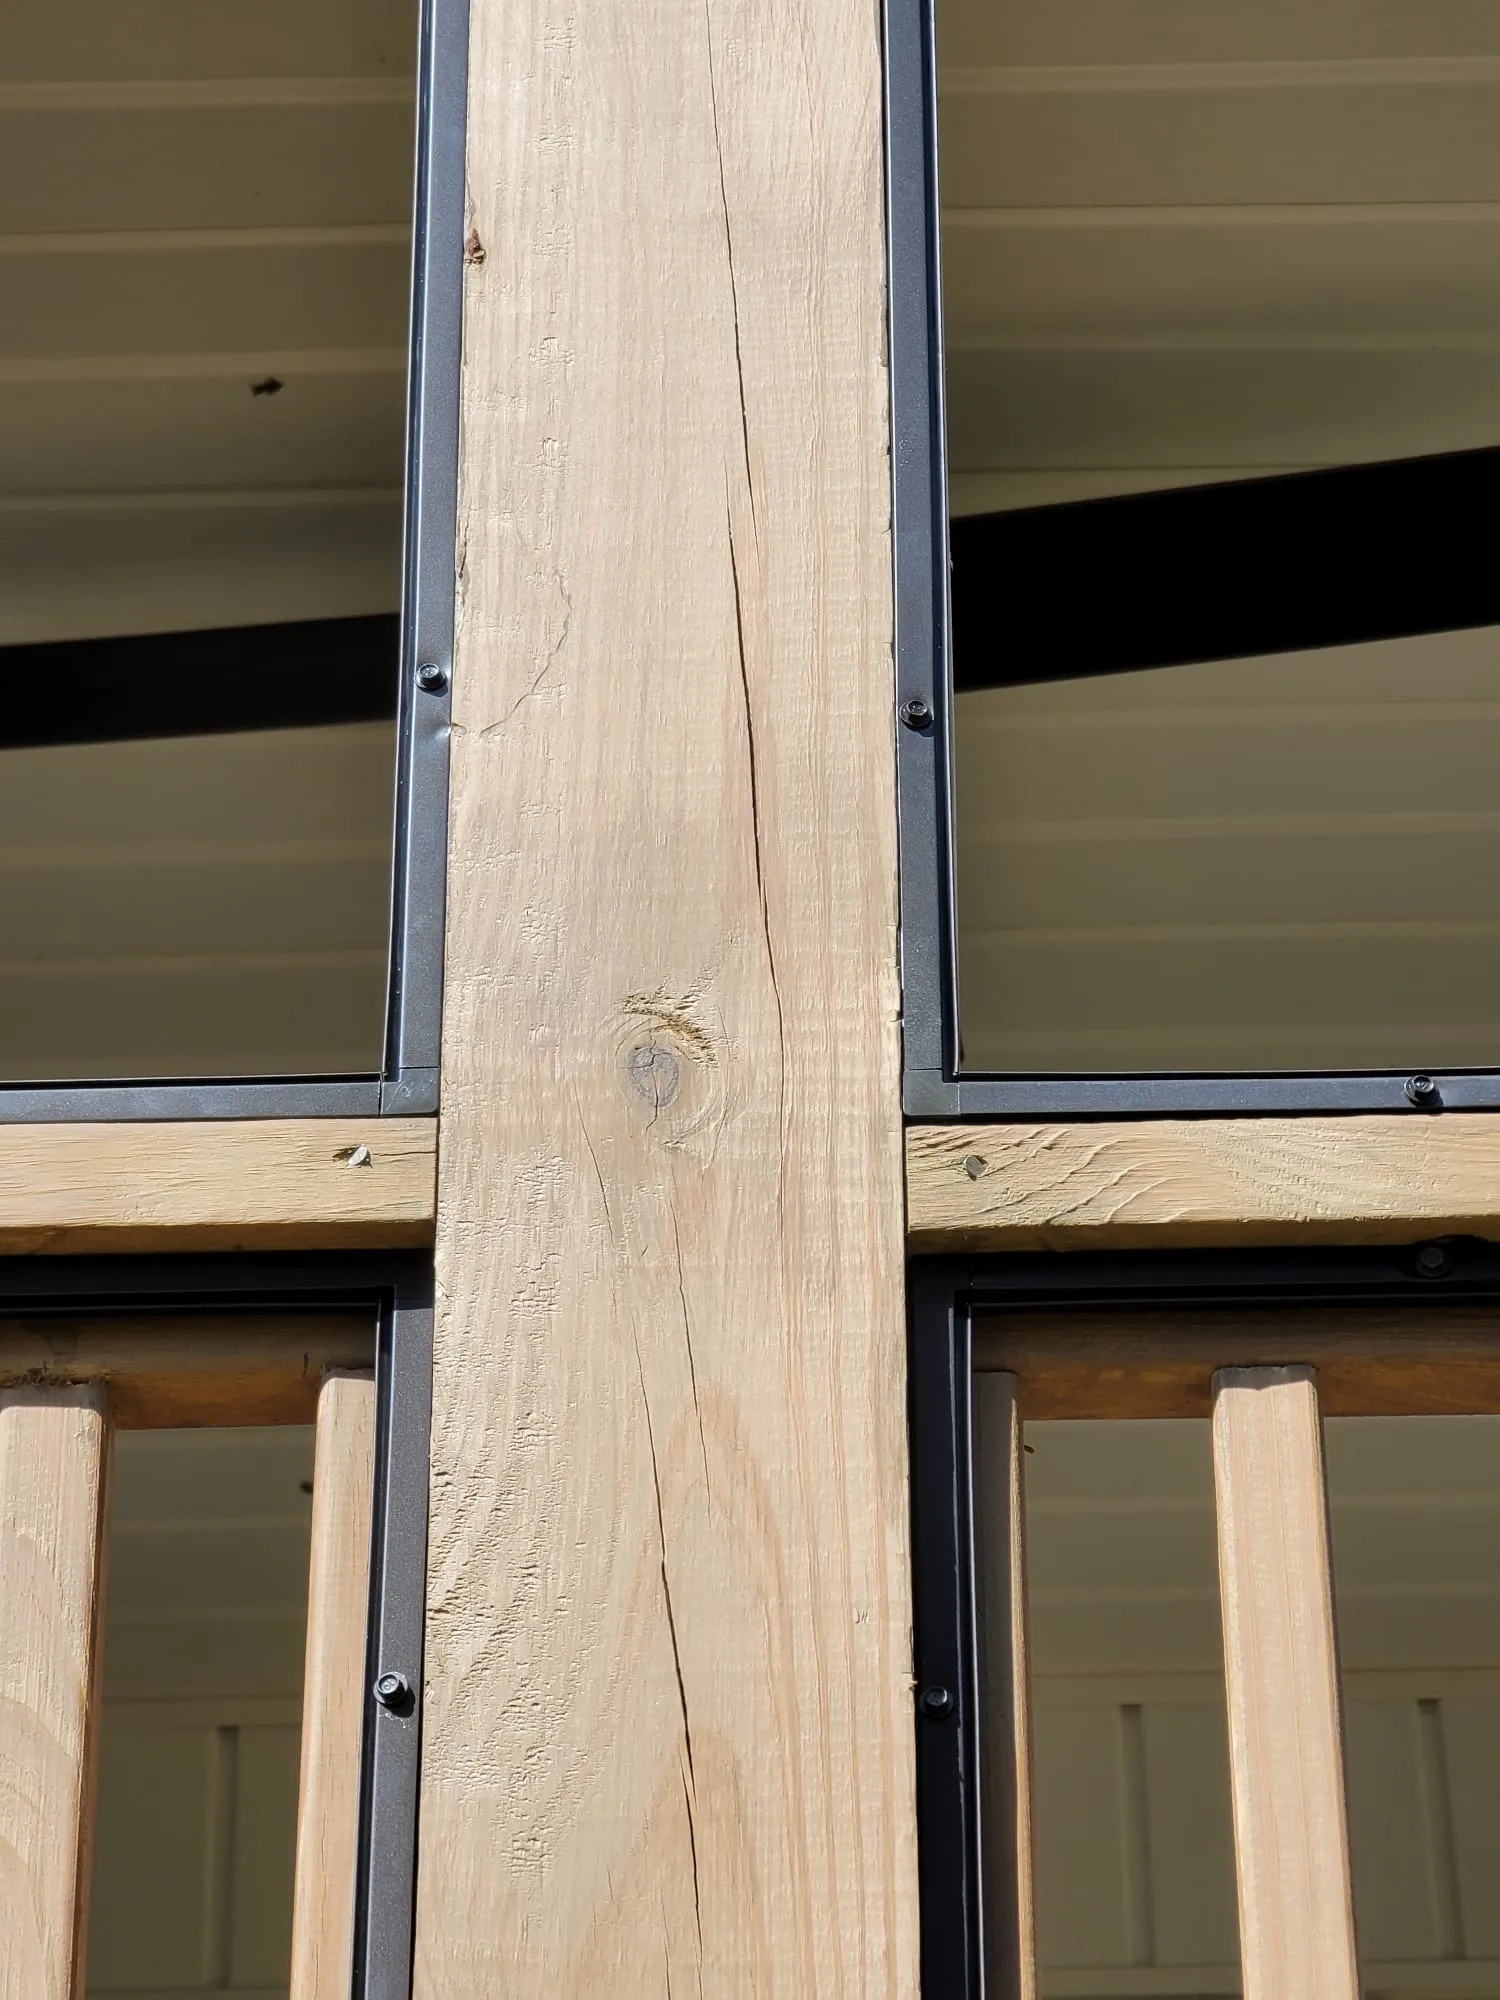
What to send for new porch screening
If the porch is not currently screened, photograph the complete structure from inside and outside. Include:
- Posts, columns, beams, rails, walls, and opening edges
- Floor-to-ceiling views of every proposed screened wall
- The ceiling or roof connection
- Door locations and walking paths
- Stairs and landings
- Existing electrical fixtures, outlets, fans, switches, plumbing, or mounted equipment near the proposed work
- Gutters, downspouts, roof intersections, and areas where water drains
- The floor, slab, deck boards, and lower perimeter
- Any opening that is unusually tall, wide, angled, curved, or obstructed
Also tell us whether you want screening added to existing wood framing, removable panels, an applied screening system, or extruded-aluminum enclosure framing. If you do not know, explain the appearance, durability, repair access, and budget priorities that matter to you.
What to send for window screens
For existing window screens, send:
- A photo of the entire window from the side where the screen is removed
- A photo of the screen installed, if it is still in place
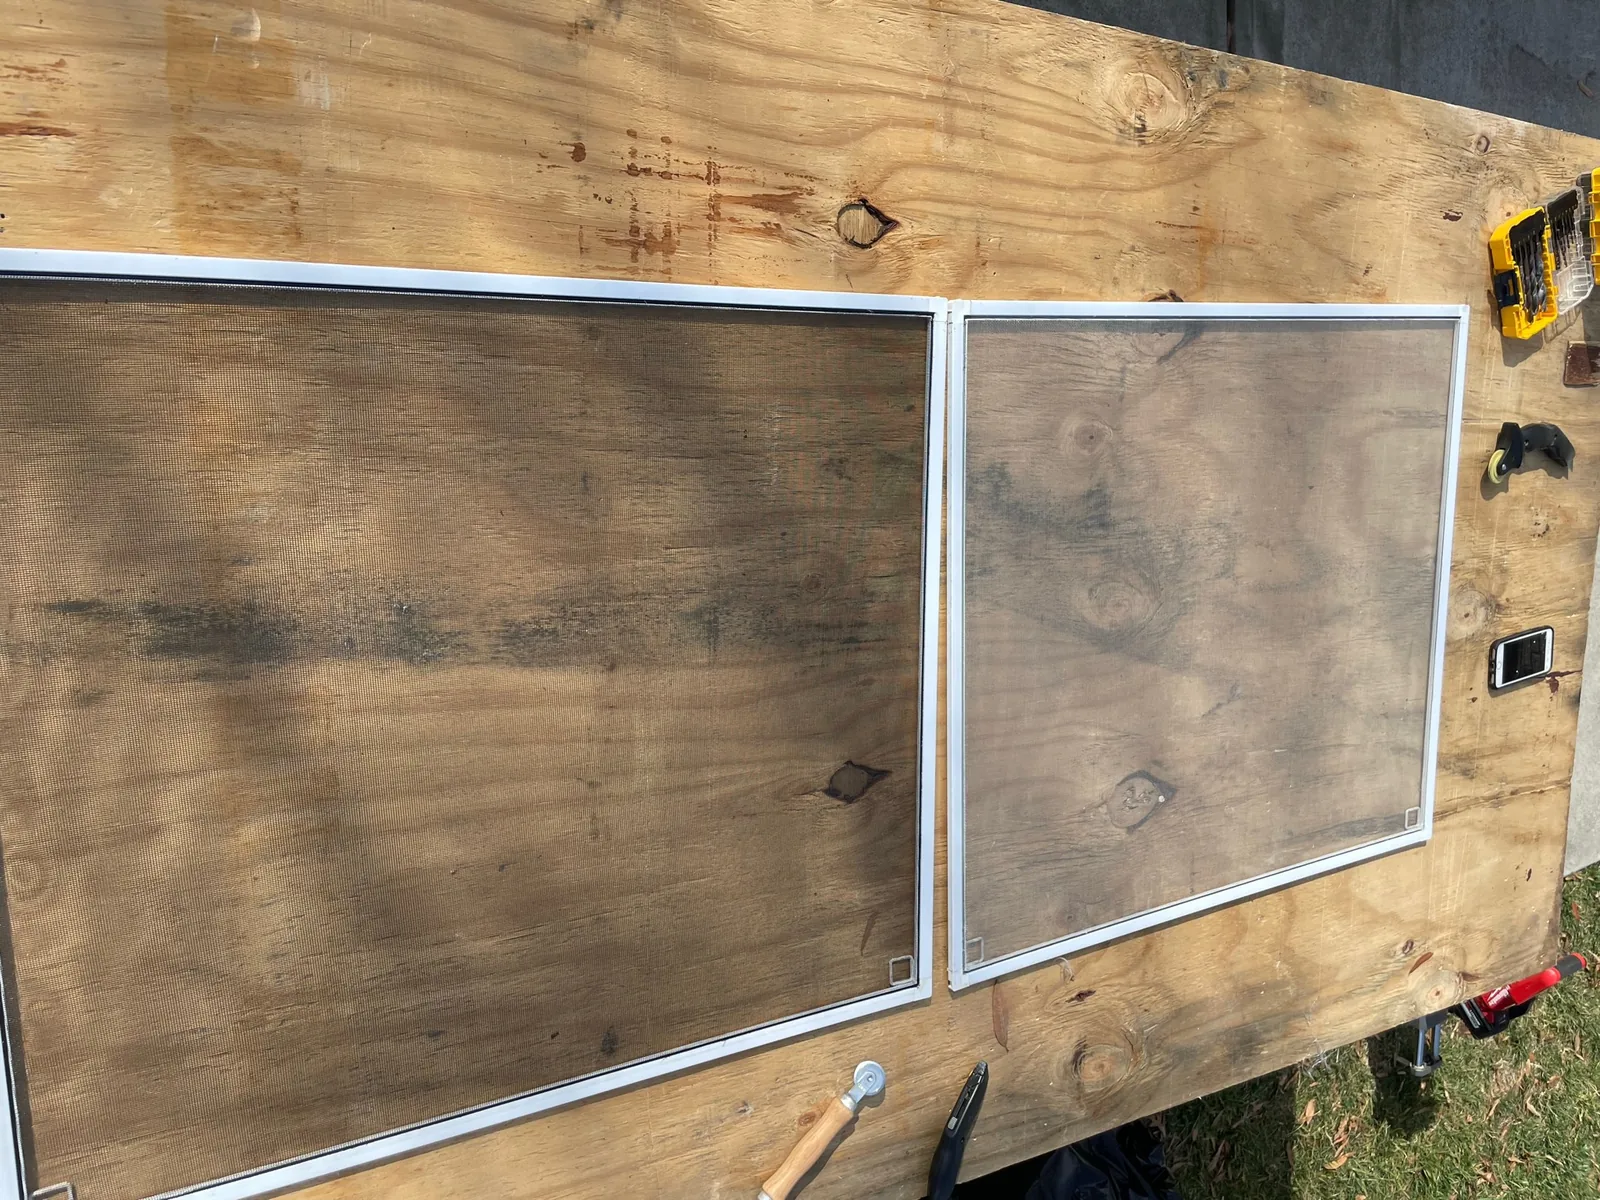
- The complete loose screen frame laid flat on a contrasting surface
- Close-ups of all four corners
- The frame profile or cross-section, if visible
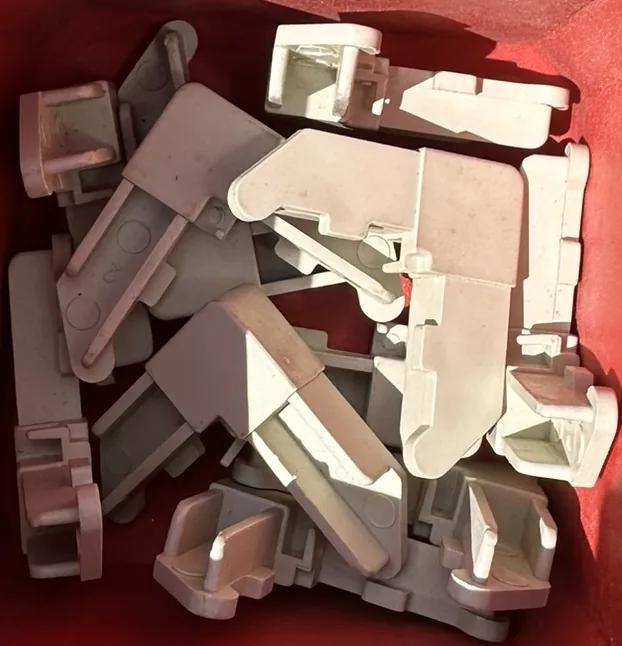
- Pull tabs, lift rails, plungers, springs, clips, wickets, pins, or other hardware
- The spline channel and a clear view of the mesh
- Bent, broken, missing, or corroded areas
- The total quantity and whether the screens appear identical
If a screen is missing, photograph the empty window opening and every clip, track, stop, or channel that may retain the screen. Include the window manufacturer label if it is present and readable.
Approximate outside dimensions can help identify the scope, but custom window screens often require precise measurements, frame-profile selection, hardware placement, and test fitting. Do not assume that two windows that look alike use identical screens.
What to send for screen doors and pet doors
For a screen-door repair or replacement, send:
- The entire door and surrounding frame from both sides
- The hinge side, latch side, head, and threshold
- Door handles, locks, closers, hinges, sweeps, and bug seals
- The point where the door rubs, drags, fails to latch, or leaves a gap
- Any bent frame, broken corner, damaged screen, or loose hardware
- Nearby rails, posts, steps, or walls that affect the door swing
- Approximate door width and height, if safely available
For a pet door, include the pet-door opening, the surrounding screen or kick plate, and the full door or wall panel in which it is installed. Tell us the approximate size of the pet and whether the pet door is being added, replaced, relocated, or removed.
What to send for porch windows or enclosure conversions
For flexible-vinyl, acrylic, or glass porch windows, send:
- Exterior and interior overviews of the complete porch
- Straight-on photos of every opening
- The posts, rails, framing, floor, ceiling, and roof connection
- Existing screens, windows, panels, doors, and attachment details
- Floor-to-ceiling and above-the-rail conditions
- Door openings, swing direction, thresholds, and traffic paths
- Water staining, drainage concerns, damaged framing, or noticeable movement
- Areas where heating, cooling, insulation, electrical work, or finish work may be expected
Tell us how you want to use the room and what matters most: ventilation, clearer views, weather protection, pollen reduction, shade, temperature performance, or investment. Also identify important seated and standing sightlines so rails, meeting points, mullions, and spreader bars can be considered during design.
See Flexible Vinyl vs. Acrylic vs. Glass Porch Windows: Which Is Right for Your Porch? for a product-category comparison.
What to send when the screen is damaged or loose
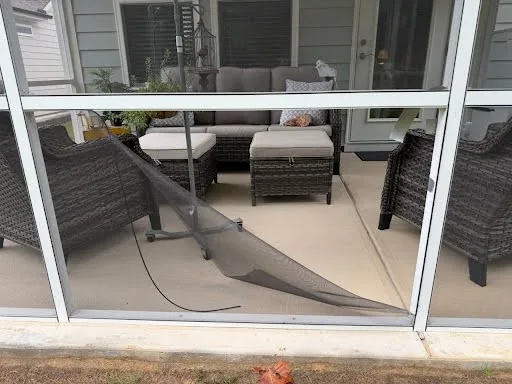
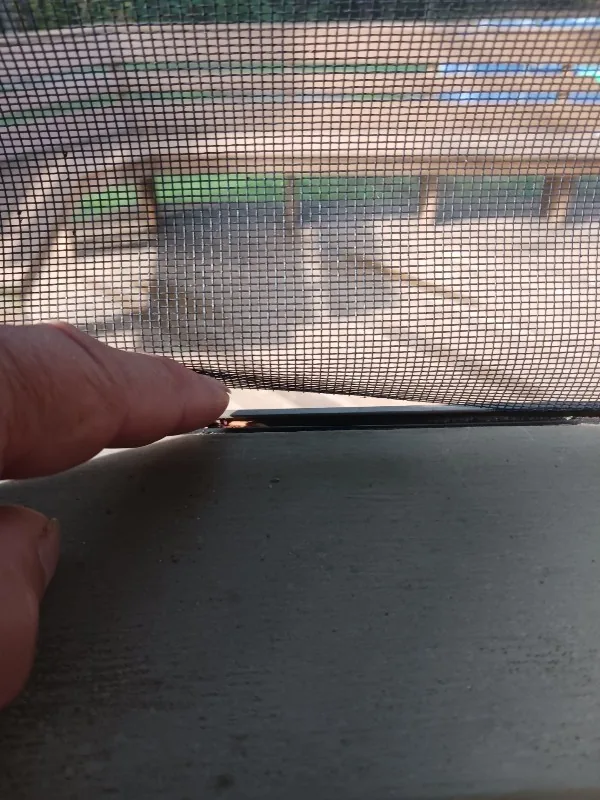
Send both a wide view and a close-up of every affected area. A close-up shows the damage; the wide view shows which opening and system it belongs to.
Useful damage photos include:
- Mesh pulled out of a spline channel or retention cap
- Torn, punctured, stretched, or sagging screen
- Loose staples or detached trim
- Cracked caps, bases, corners, or frame members
- Bent screen frames
- Door-screen damage
- Areas damaged during pressure washing, painting, storms, pets, yard work, or other activity
Describe when you first noticed the problem and whether it is changing. Do not remove more material or disassemble the system solely for photographs. A photo may show the visible condition without proving the cause, responsibility, or warranty coverage; those questions require the project record and applicable warranty terms.
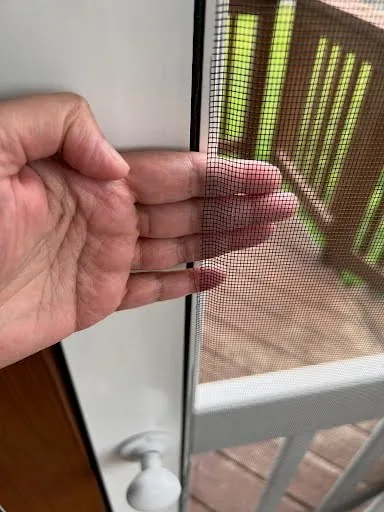
Measurements: helpful, but not worth taking a risk
Approximate dimensions can help Best Screens understand the project scale. If an opening can be reached safely from the floor or ground, provide the approximate width and height and label which opening the measurement belongs to.
For a large project, a simple sketch can help. Number the walls and openings, then use the same numbers in filenames or notes. For example: Wall A, Opening A1, Opening A2, and Door D1.
Customer measurements can help Best Screens understand the project and prepare a quote, but they are not used for fabrication. Best Screens will take or verify final fabrication measurements, which may need to account for squareness, frame profile, spline channel, hardware, mounting clearances, structural conditions, and manufacturer limits.
Never climb onto a roof, stand on unstable furniture, lean outside a window, remove safety barriers, disturb electrical equipment, or enter another unsafe area to obtain a photo or measurement. Tell us what could not be reached safely.
Tell us what result you want
Photos show the existing condition, but they do not always explain the goal. Include a short description of what you want Best Screens to accomplish.
Helpful details include:
- Repair one damaged area or rescreen the entire project
- Keep the existing attachment system or consider an upgrade
- Improve resistance to pets, children, traffic, or yard equipment
- Keep out no-see-ums or other small insects
- Improve the outward view
- Add shade, glare reduction, or daytime privacy
- Improve airflow
- Add, replace, or reposition a door
- Add a pet door, rail, pickets, or kick plate
- Convert a screened porch with flexible-vinyl, acrylic, or glass windows
- Match an existing frame, finish, mesh, or neighboring opening
For help comparing mesh, see [How to Choose the Best Screen Mesh for Your Home].
Protect your privacy when taking photos
Estimate photos are project records; they are not automatically marketing photos. Best Screens should obtain separate permission before using a customer’s images publicly.
Before submitting, check for:
- Faces or reflections of people
- House numbers and mail labels
- Vehicle license plates
- Alarm-system details, access codes, keys, or lockbox information
- Paperwork, computer screens, calendars, family photographs, or financial information
- Children, private rooms, medications, or other sensitive material unrelated to the project
Move, cover, or crop unrelated private information when practical. The Best Screens estimate form is the preferred submission method because it is checked first and regularly. Photos may also be emailed to contact@bestscreens.com, texted to 919-335-3439, sent through WhatsApp, submitted through an active Google lead form, or sent through Best Screens on Facebook.
Photo-quality tips
The estimate form accepts up to 10 photos in JPEG, PNG, or WebP format. Each photo may be no larger than 15 MB. Choose the clearest views rather than submitting duplicates. Video files are not supported.
- Clean the phone camera lens.
- Use daylight or turn on the room lights.
- Hold the phone steady and allow it to focus.
- Take both landscape and detail photos when useful.
- Step back for context, then move closer for details.
- Avoid filters, portrait blur, screenshots, collages, and heavy editing.
- Send the original image when possible instead of a compressed screenshot.
- Do not photograph through dirty glass or screen when the detail is on the other side.
- Review every photo before submitting it.
More photos are not automatically better. A smaller organized set of sharp, purposeful images is more useful than dozens of duplicates.
What happens after you submit the request?
Best Screens reviews the project description, location, photos, requested service, desired completion date, and any HOA information. We usually respond by the next business day, although unusual volume, holidays, incomplete information, or other circumstances may require additional time. The estimate form asks for a preferred contact method, and we will try to use that method when responding.
Best Screens will determine whether a permit is needed; customers do not need to make that determination before requesting an estimate. We may then:
- Ask for a missing overview or close-up
- Ask you to identify an opening or measurement
- Request a photo of the attachment system, hardware, frame, or access condition
- Discuss product and mesh options
- Determine that a site visit or field measurement is needed
- Explain that framing, structural, electrical, finish, or other work may need separate evaluation
- Prepare the next step for the project based on the information available
Most projects can begin with remote review when the photos are clear. Best Screens may ask additional questions or schedule an in-person visit after seeing them. Eze-Breeze, glass, and acrylic projects always receive an appointment for measurements and an options review. The project scope may change if field conditions differ from the submitted information.
If an appointment is required, a member of the Best Screens sales team will contact the customer to schedule it and discuss relevant project details. Quotes are currently delivered by email.
Frequently asked questions
How many photos should I send?
Send enough to show the complete project, each wall or opening involved, and the important details, up to the form limit of 10 photos. For a simple window screen, a few organized photos may be enough. A porch or enclosure usually requires more. Avoid sending many nearly identical images. Each file must be a JPEG, PNG, or WebP image no larger than 15 MB.
Do I need exact measurements before contacting Best Screens?
No. Approximate dimensions are helpful for quoting when they can be taken safely, but customer measurements are not used for fabrication. Best Screens will take or verify the final measurements required for fabrication.
Can Best Screens give a final price from photos?
Most projects can begin with a remote review when the pictures are good. After reviewing them, Best Screens may ask more questions or schedule an in-person visit. Eze-Breeze, glass, and acrylic projects always require an appointment to measure and review options, although advance photos are helpful.
Should I remove the damaged screen first?
Usually, no. Photograph the project as it exists unless Best Screens asks you to remove a loose screen or panel. Do not disassemble a system or create more damage solely to expose a component.
How can I send the photos?
The website estimate form is preferred because it is the first place we look and is checked regularly. You may also email photos to contact@bestscreens.com, text them to 919-335-3439, send them through WhatsApp, use an active Best Screens Google lead form, or message Best Screens on Facebook.
When will Best Screens respond?
Best Screens usually responds by the next business day and will try to use the preferred contact method selected on the estimate form. Complex requests, missing information, holidays, or unusual inquiry volume may require additional time.
How will I receive my quote?
Best Screens currently sends quotes by email. If an appointment is required, a member of the sales team will contact you to schedule it and discuss the project details.
Will my estimate photos be posted online?
Not automatically. Estimate photos are private project records. Best Screens should obtain separate permission before using customer images for the website, social media, advertising, or other public marketing.
Ready to request an estimate?
Take the wide views first, add the necessary details, describe what you want, and submit the organized set through the Best Screens estimate form. If needed, you may instead email contact@bestscreens.com, text 919-335-3439, use WhatsApp, or message Best Screens on Facebook. If you cannot safely reach an area or do not know which product or system you have, say so. We can tell you what additional information is needed.